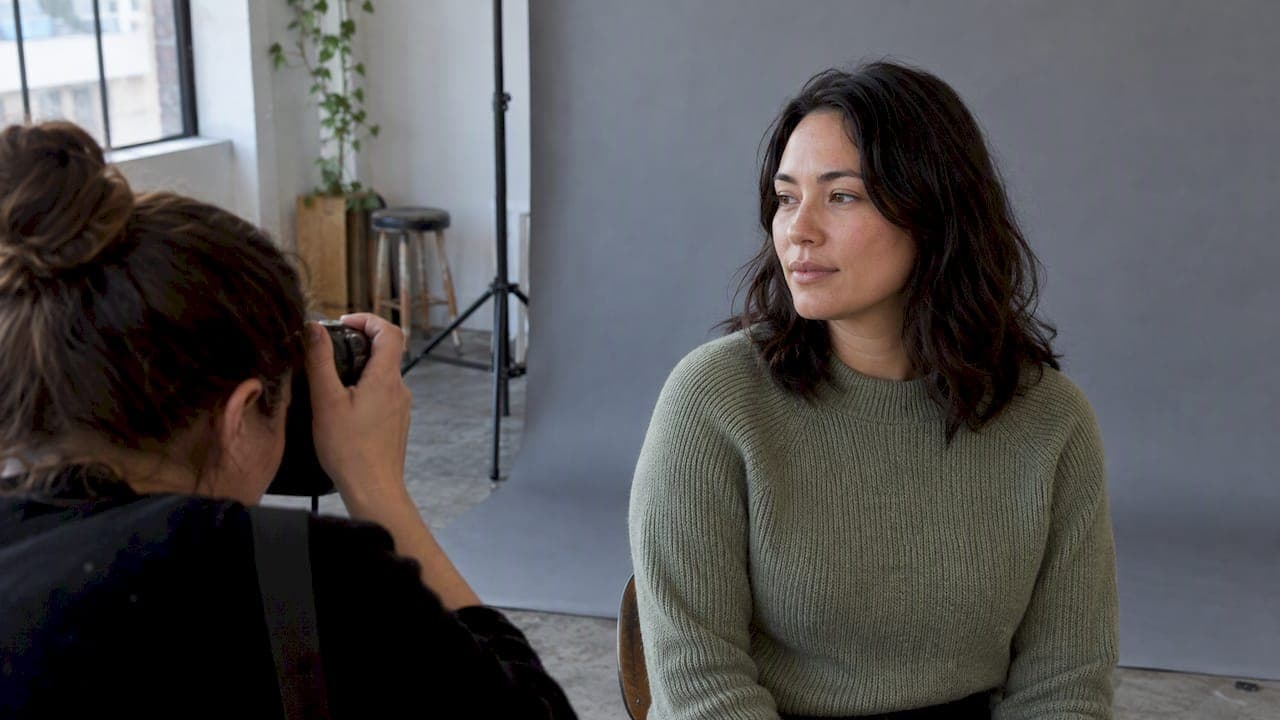
The fastest way to get several different portrait looks from one shoot is to choose a single mid-grey or neutral seamless backdrop, then change its appearance with lighting and subject distance rather than buying a new background for every style. If you need something today, a plain bedsheet or a closed venetian blind will get you shooting within minutes. For a sense of how these choices translate into finished images, our portfolio shows several of them in practice.
TL;DR:
- Use about 1.3 m of backdrop width for headshots, and the full 2.7 m for full length or group portraits.
- Meter the backdrop separately from the face; overexpose it for white, add gelled background light for color, or increase subject distance for a darker, softer look.
- Full width paper rolls may incur excess freight or require collection in New Zealand, so check stand width and delivery terms before buying.
- Store canvas and printed PVC or fabric backdrops rolled, not folded, because folds can leave hard to remove creases in paint or print.
Table of Contents
- 1. Ten practical portrait backdrop ideas to try now
- 2. How lighting and distance change a backdrop's look
- 3. Materials and buying notes: paper, canvas and PVC
- 4. Quick DIY builds and finishing touches you can do today
- 5. Setup checklist: sizing, distance, wrinkles and transport
- 6. Practical on-set tips from Life in Style Photography
- What we think most backdrop advice gets wrong
- Let us plan the backdrop and run the session for you
- FAQ
- Sources
1. Ten practical portrait backdrop ideas to try now
You do not need a studio full of backgrounds to get variety. Most working photographers rely on a handful of versatile options and adapt them with light, distance and small styling choices.
- Mid-grey seamless paper: the most flexible single purchase, since it can read as white, grey or near-black depending on how you light it.
- White paper: a reliable choice for clean headshots and branding work where the background needs to disappear.
- Black paper: suited to moody, low-key portraits and dramatic lighting setups.
- Painted canvas or textured fabric: gives an editorial, painterly finish that flat paper cannot replicate.
- Printed PVC or photo-printed fabric: realistic textures such as brick, concrete or linen without needing a location.
- Household sheets or curtains: an immediate, low-cost stand-in for paper when you need to shoot the same day.
- Closed venetian blinds: a textured, line-patterned backdrop already built into many homes and offices.
- Balloon or floral walls: colourful, celebratory backgrounds suited to events, birthdays and brand launches.
- Portable pop-up printed backdrops: lightweight options for on-location branding or headshot sessions.
- Outdoor natural backdrops: foliage, brick walls or painted doors, which cost nothing and change with the seasons.
Picking between these comes down to the shoot's purpose rather than personal taste. A corporate headshot usually calls for white or mid-grey paper so nothing competes with the face. A couples or lifestyle session often suits natural outdoor backdrops or soft fabric for warmth. Fitness and branding work benefits from a backdrop that holds colour well under strong lighting, since you'll often want punchier, more graphic looks. If you're deciding between a headshot and a fuller portrait session, our guide on choosing between a headshot and a portrait covers how that decision affects backdrop width too.
2. How lighting and distance change a backdrop's look
A single backdrop can produce dramatically different results once you start adjusting light and camera position. Lighting is the main tool photographers use to reshape how a backdrop reads, and a mid-grey background is particularly adaptable because it can swing from a pure white high-key look to a dark, moody tone without any change of material.
- Overexpose the backdrop by adding more light behind the subject than on their face, which blows the background to clean white, though you'll need to watch for spill onto the subject.
- Add gelled background lights to introduce colour while keeping skin tones natural, since the gel affects only the backdrop light, not the key light.
- Move the subject further from the backdrop to let it fall out of focus and darken naturally, or bring them closer to make it sharp and prominent.
- Use a rim or back light to separate the subject from a busy or textured background, adding a thin edge of light along hair and shoulders.
A simple one-light high-key setup, a two-light coloured background setup, and a single hard side light for a low-key portrait will cover most of what a portrait photographer needs from one backdrop.
Pro Tip: Start every new lighting setup by metering the backdrop separately from the face, since the two rarely need the same exposure.
3. Materials and buying notes: paper, canvas and PVC
Seamless paper remains the most common studio backdrop because of its size and finish. Krane Background Paper comes as a full-width 2.7 m by 10 m roll with a non-reflective surface, designed to be replaced once marked rather than cleaned. Similarly, BD paper background rolls are sold at around 2.72 m by 11 m in a matte, wrinkle-resistant finish, with Savage seamless paper following the same 2.71 to 2.72 metre width as the rest of the category.
Canvas and painted backdrops need different handling. Kingsize Studios rents hand-painted textured canvas backdrops in large widths, and these should be stored rolled rather than folded, since creases in painted fabric are difficult to remove. Printed PVC and fabric backdrops follow the same rule: BackdropsNZ delivers its printed studio backdrops rolled specifically to avoid creasing the print.
Full-width paper rolls often come with freight restrictions in New Zealand, with retailers commonly noting excess freight charges or requiring click-and-collect for full-size rolls given their bulk.
- Check the roll width against your stand system before buying.
- Favour a matte, non-reflective finish to avoid hot spots under lights.
- Factor in durability and ease of cleaning if the backdrop will see repeated use.
4. Quick DIY builds and finishing touches you can do today
You can put together a usable backdrop with items already in the house, provided you take a few minutes to finish it properly.
- Tension a sheet or curtain between two stands or a curtain rod, steam out creases, and clip the edges so it doesn't sag mid-shoot.
- Use closed venetian blinds as a textured backdrop, angling your key light away from the slats to avoid glare bouncing back into the lens.
- Paint a temporary wash onto spare paper for a one-off event look, letting it dry fully before use so it doesn't mark clothing.
- Build a balloon or floral wall on a simple frame, keeping clusters evenly spaced so the composition doesn't look lopsided in camera.
- Finish with clamps and gaffer tape to hold everything in place, then crop tight in-camera or retouch out any visible joins.
5. Setup checklist: sizing, distance, wrinkles and transport
A few sizing and handling details prevent most shoot-day problems.
- Use roughly 1.3 m of width for headshots and the full 2.7 m for full-length or group portraits.
- Keep subjects close to the backdrop for sharp, graphic looks, and further away when you want it soft and dark.
- Steam or weight down paper to remove wrinkles, and check for hot spots before the subject arrives.
- Never fold canvas or PVC backdrops; store and transport them rolled to protect the print or paint.
- Budget extra time for freight or collection when ordering a full-size paper roll, since many NZ suppliers treat these as oversized items.
Pro Tip: Do a test shot of the empty backdrop first; it's the easiest way to catch wrinkles or hot spots before your subject is standing in front of them.
6. Practical on-set tips from Life in Style Photography
A relaxed, conversational approach on set does more for a portrait than the backdrop itself, since a comfortable subject reads as natural against almost any background. We tend to simplify posing against busy or patterned backdrops and let people move more freely against plain ones, where small gestures carry more weight. We also guide clients on outfit colours ahead of time so clothing doesn't clash or disappear into the background, a topic we cover further in our guide to outfit colours for photos. A short pre-shoot briefing on outfit, pose and backdrop choice removes most of the decision fatigue clients feel on the day.
What we think most backdrop advice gets wrong

Most backdrop guides read like shopping lists, as if the goal is to own more backgrounds. In practice, the photographers who get the most variety from a shoot usually own fewer backdrops and understand light better. A mid-grey roll, a gelled light and a few metres of distance will outperform a cupboard full of rarely used backdrops, because the skill sits in the lighting decisions, not the inventory.
The other overrated idea is that busy or heavily styled backdrops make a portrait more interesting. Often they compete with the face instead of supporting it, which is why plain or softly textured backgrounds remain the safer default for headshots and branding work. If you're planning a session, prioritise learning two or three lighting setups on one backdrop before spending on a second or third background. For additional ideas on working with available light rather than studio gear, our piece on natural light portrait setups is a useful companion to the lighting techniques above, and for a closer look at lighting diagrams specifically, this breakdown of beauty portrait lighting styles is worth a browse.
— Rowan Freeman
Let us plan the backdrop and run the session for you
If working through backdrops, lighting and distance sounds like more than you want to manage yourself, we handle all of it as part of our sessions, including backdrop selection, setup, lighting and on-set direction, so you can focus on how you look and feel rather than the technical side.

This approach suits several session types:
- Headshots and personal branding, where we select backdrops that keep the focus on your face and story, detailed on our Personal Branding Services page.
- Couples sessions, where backdrop and lighting choices support the mood of the shoot, as outlined on our Couples Photography Services page.
- Maternity and baby sessions, where soft, comfortable backdrops suit a relaxed shoot, shown on our Maternity and Baby Photography page.
Browse our portfolio to see how these choices come together, then get in touch to book a consultation for your session.
FAQ
What is the best background colour for portraits?
Mid-grey is generally the most useful single colour, since it can be lit to look white, grey or near-black depending on your setup. White suits clean headshots and branding, while black works well for moody, low-key portraits.
What are some creative DIY photography projects I can do?
Tensioning a plain sheet between two stands, using closed venetian blinds for texture, or building a simple balloon or floral wall are all accessible DIY backdrop projects. Each can be finished with clamps, gaffer tape and careful lighting to look considerably more polished than the materials suggest.
What are some good poses for a photo portrait?
Poses depend on the backdrop: simpler, more structured poses suit busy or patterned backgrounds, while plain backdrops allow more relaxed, natural movement to carry the shot. Turning the body slightly off-camera and adjusting chin height are reliable starting points for most portrait styles.
How do I make a photo backdrop with a sheet?
Hang a plain, ironed or steamed sheet from a curtain rod or between two light stands, pulling it taut so it doesn't sag or wrinkle during the shoot. Clip the edges out of frame and keep your light off the fabric at a sharp angle to avoid highlighting any texture or creases.
Sources
- Krane Background Paper 2.7×10m full-width Arctic White #93
- BD Paper Background Roll 112 GrayStone 2.72m x 11m
- Savage 2.71m x 11m seamless backdrop paper roll