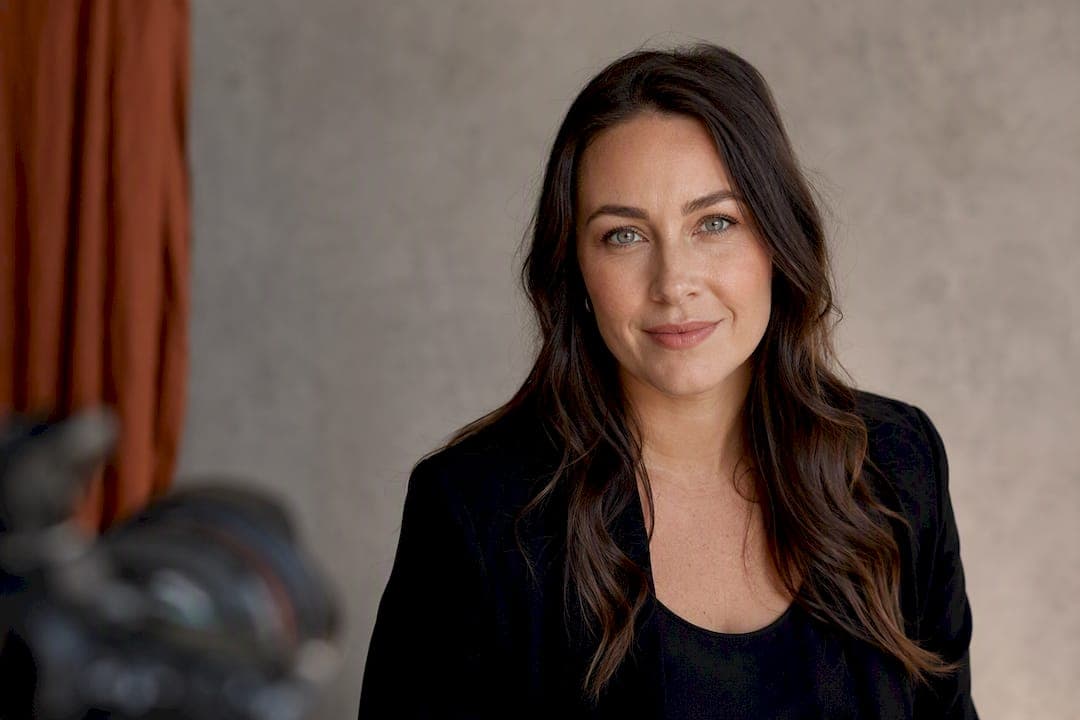
A headshot is a tightly cropped image built for recognition. A portrait is broader in framing and built to tell a story. If the photo needs to work as a thumbnail, a LinkedIn profile, or a staff directory listing, choose the headshot. If it needs to carry personality, mood, or marketing weight on a bigger canvas, choose the portrait. Professional photographers often offer both, and many people end up booking one after the other.
TL;DR:
- Use a headshot for recognition purposes at small sizes, ensuring the camera focal length preserves natural facial proportions.
- Book a portrait when the goal is storytelling or marketing, leveraging creative lighting, backgrounds, and wardrobe to express personality.
- Prioritize the image platform before choosing photographer, as resolution and context directly influence framing, lighting, and styling needs.
- For DIY headshots, keep the camera distance at 85 to 135mm equivalent, use soft lighting, and avoid wide-angle distortion common with phone selfies.
- Opt for professional sessions to get consistent lighting, proper cropping, and natural expressions, especially when high-quality results are needed across multiple formats.
Table of Contents
- What is a headshot?
- What is a portrait?
- Key differences at a glance: purpose, framing, lighting, expression, clothing, output
- How to choose between a headshot and a portrait
- Getting the best results: pose, lighting, clothing, background
- How Life in Style shoots headshots and portraits
- Headshot vs portrait: what actually matters
- Ready to book: Life in Style services
- Sources
What is a headshot?
A headshot is framed tightly on the face, usually cropping in around the head, neck, and top of the shoulders, against a simple, uncluttered background. That tight crop isn't a style choice. It exists because headshots get viewed small, often at LinkedIn thumbnail size or inside a staff directory grid, and any detail beyond the face becomes visual noise at that scale.
Camera choice matters here more than people expect. Longer focal lengths (a topic covered further in the practical tips below) keep facial proportions natural, which is exactly what most phone selfies get wrong. A selfie can pass as a headshot if it nails the basics: eye level, clean background, soft even lighting. Most don't, because arm's length distance distorts the nose and forehead.
Expect a headshot session to run short, and delivery to be lean:
- A small number of final retouched images, not dozens of variations
- Light retouching that removes temporary blemishes but keeps permanent features intact, preserving recognisability
- A neutral or single-colour background, chosen to keep attention on the face
- A refresh every few years, or sooner after a noticeable change in appearance
What is a portrait?
A portrait widens the frame and widens the intent. It might be three-quarter length or full-length, and it usually includes environment, props, or a setting that says something about the person rather than simply identifying them. That's the fundamental split: a headshot answers "what does this person look like?" while a portrait answers "who is this person?"
Portraits suit an "About" page, an editorial spread, a book jacket, or campaign imagery where the photo is doing marketing work, not just identification work. The creative tools available are much wider too:
- Lighting shifts from flat and even to deliberately moody or directional
- Location becomes part of the story: a studio, a workspace, an outdoor setting
- Wardrobe and props can express personality rather than staying neutral
- Sessions run longer and typically produce a broader set of usable images and looks
Because portraits are viewed larger, in print, on a website hero, or across a multi-image campaign, small imperfections that would vanish in a thumbnail become visible. That's part of why portrait retouching and lighting setups take more time.
Key differences at a glance: purpose, framing, lighting, expression, clothing, output
Line the two up side by side and the differences aren't subtle. Each one exists for a reason tied to how the final image gets used.
- Purpose and audience. A headshot exists for recognition. A portrait exists for storytelling and connection. Headshots serve the job of recognition; portraits serve the job of expression, and mixing that up wastes the shoot.
- Framing. Headshots crop tight on the face for readability at small sizes. Portraits pull back, sometimes to full length, because they're viewed larger.
- Lighting and mood. Headshots use flat, consistent, modelling light that photographs well every time. Portraits use creative or moody lighting to match a narrative.
- Expression and direction. Headshots aim for a consistent, approachable look across a whole team or company. Portraits allow a wider emotional range.
- Clothing and styling. Headshot wardrobe stays conservative and brand-safe. Portrait wardrobe can be expressive, seasonal, or tied to a theme.
- Output format. Headshots need to hold up as a 40 pixel thumbnail. Portraits need to hold up as a printed poster or a full-bleed website banner.
Using the wrong one shows up fast. A portrait dropped into a directory grid reads as inconsistent next to a row of clean headshots, and a plain headshot used on a personality-driven "About" page reads sterile and forgettable.
Consistency callout: teams that use the same lighting style and crop across every staff headshot build stronger brand recognition on company pages and LinkedIn than teams with a mismatched set collected over several years.
How to choose between a headshot and a portrait
Start with one question: where will this image actually appear? That single answer resolves most of the decision.
- Thumbnail, profile photo, staff directory, ID badge → headshot
- Website "About" page, editorial feature, personal brand campaign, print marketing → portrait
- Both → this is common, and worth planning rather than treating as two separate purchases
If you need both, book the headshot first. It's the shorter, more contained session, and it gives you a working profile image while you plan the more involved portrait or branding shoot. Many photographers, Life in Style Photography included, will structure a headshot and personal branding package so the two build on each other rather than duplicating setup time.
Before booking, ask the photographer four things:
- How many final images are included, and how many looks or backgrounds?
- What's the retouching policy, light touch-ups only, or more substantial editing?
- What usage rights come with the images (personal profile only, or commercial and marketing use)?
- What's the turnaround time from shoot to delivery?
Pro Tip: If your budget only stretches to one session right now, book the headshot. It covers the widest range of urgent professional needs, and you can add portrait or branding imagery later once you know exactly how you want to use it.
Getting the best results: pose, lighting, clothing, background
Whether you're prepping for a studio session, trying an AI headshot generator, or attempting a DIY shot at home, the same technical rules apply.
Distance and lens choice matter more than most people realise. Shooting from close range with a wide phone lens exaggerates the nose and forehead, which is why professional headshots are typically shot at roughly 85 to 135mm full-frame equivalent, from further back. That single adjustment, more than any lighting tweak, is what separates a flattering headshot from an obvious selfie.
Lighting comes next. Soft, directional light, window light at an angle, or a simple diffuser, reads far better than harsh overhead office lighting, which casts shadows under the eyes and across the neck.
A few more essentials:
- Keep the eye line level with or slightly below the camera, not tilted up or down
- Angle the shoulders slightly rather than facing square on to the lens
- Leave breathing room above the head; don't crop right to the hairline
- Choose solid, mid-toned clothing colours; busy patterns and stark white both fight with the lighting
Pro Tip: For a DIY attempt, prop your phone at chest height, step back further than feels natural, and zoom in slightly rather than moving closer. It's the fastest fix for selfie distortion. For more preparation ideas before a shoot, this pre-session checklist covers wardrobe and grooming basics worth sorting the night before.
How Life in Style shoots headshots and portraits
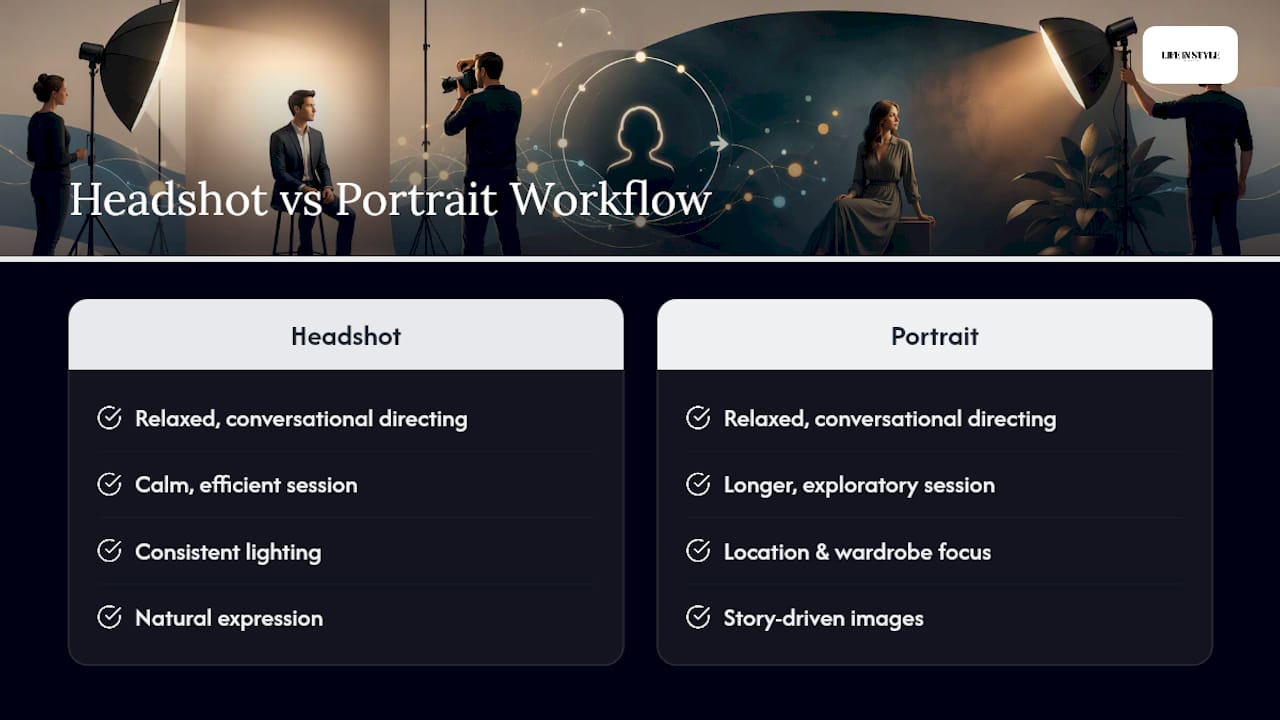
Rowan Freeman leads sessions at Life in Style Photography with a relaxed, conversational directing style, built specifically for clients who feel awkward in front of a camera. For headshots, that means a calm, efficient session focused on consistent lighting and natural expression. For portraits, it opens into a longer conversation about location, wardrobe, and the story the images need to tell.
Clients typically leave with a clear sense of turnaround time, the number of final images, and how those images can be used, before the camera comes out.
Headshot vs portrait: what actually matters
The conventional advice treats this as a technical choice: crop size, lighting setup, focal length. Those details matter, but they're not where people go wrong. The real mistake is booking based on budget or convenience rather than working backwards from where the image will live.
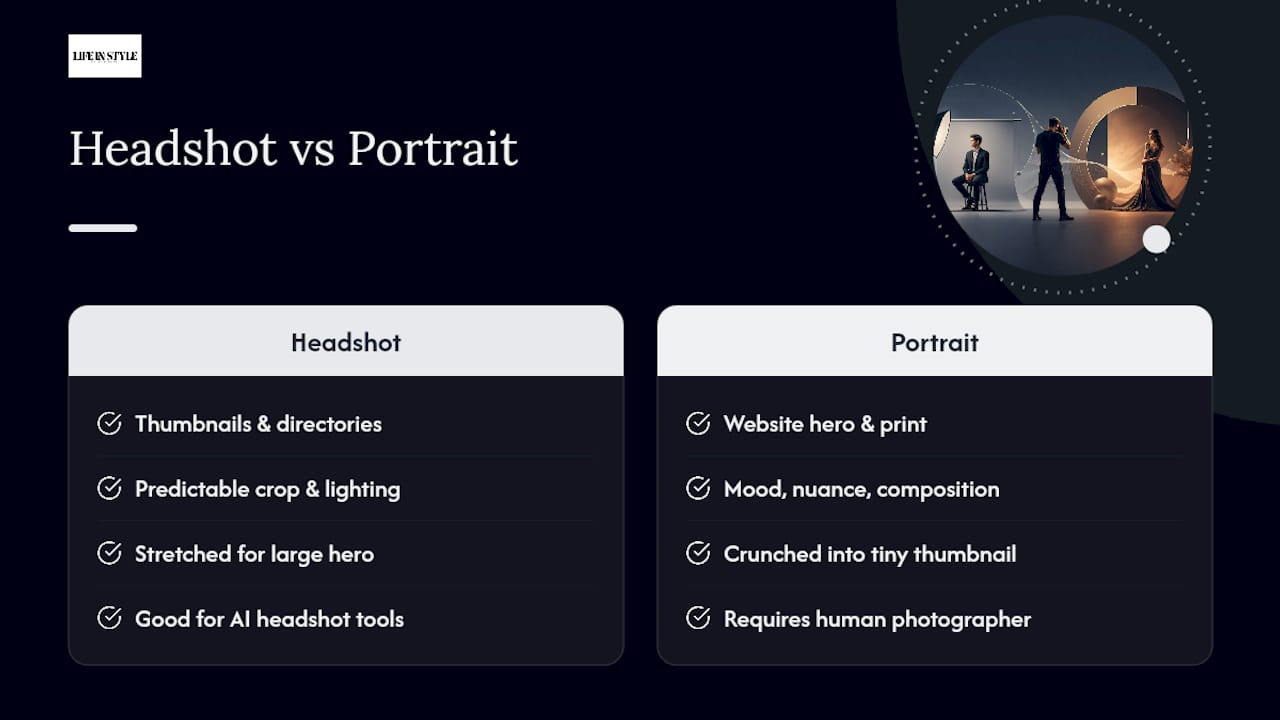
A polished portrait crammed into a 60 pixel directory thumbnail loses everything that made it good, the mood, the lighting nuance, the composition, all of it compresses into mush. A headshot stretched across a website hero banner looks thin and impersonal, doing a job it was never built for.
What I'd prioritise first: pick the platform before picking the photographer. Once you know the image needs to work at 100 pixels on a company page versus filling a laptop screen on an "About" section, the brief writes itself. AI headshot tools have gotten genuinely useful for the first case, standard professional headshots with predictable lighting and crop, but they still can't direct a real portrait session or respond to a room, a client's nerves, or a genuine laugh. That's still a human job.
— Rowan Freeman
Ready to book: Life in Style services
If you've worked out which one you need, or you're planning to get both done properly, Photography services often include both headshot and portrait sessions. They are typically offered with a relaxed, low-pressure style that suits camera-shy clients. That's the real advantage over trying to force a DIY shot or an AI tool to do a job it wasn't built for: a proper session gets your lighting, crop, and expression right in one sitting, with no guessing about what will actually work once it's live.

The most common starting point is a standalone headshot session, typically delivering a small set of retouched images ready for LinkedIn or a staff directory. Many clients then add on personal branding portraits once they see the headshot portfolio and want a fuller set of images for their website or marketing. Full details on session lengths and inclusions sit on the photography packages page. Get in touch to check availability and lock in a session that matches exactly what you need the photos to do.
Sources
- 10 tips for photographing great headshots — Digital Photography School
- Can a headshot be a selfie? — Magic Studio blog
- Professional headshots vs phone selfies: Why the difference shows — Photography Shark