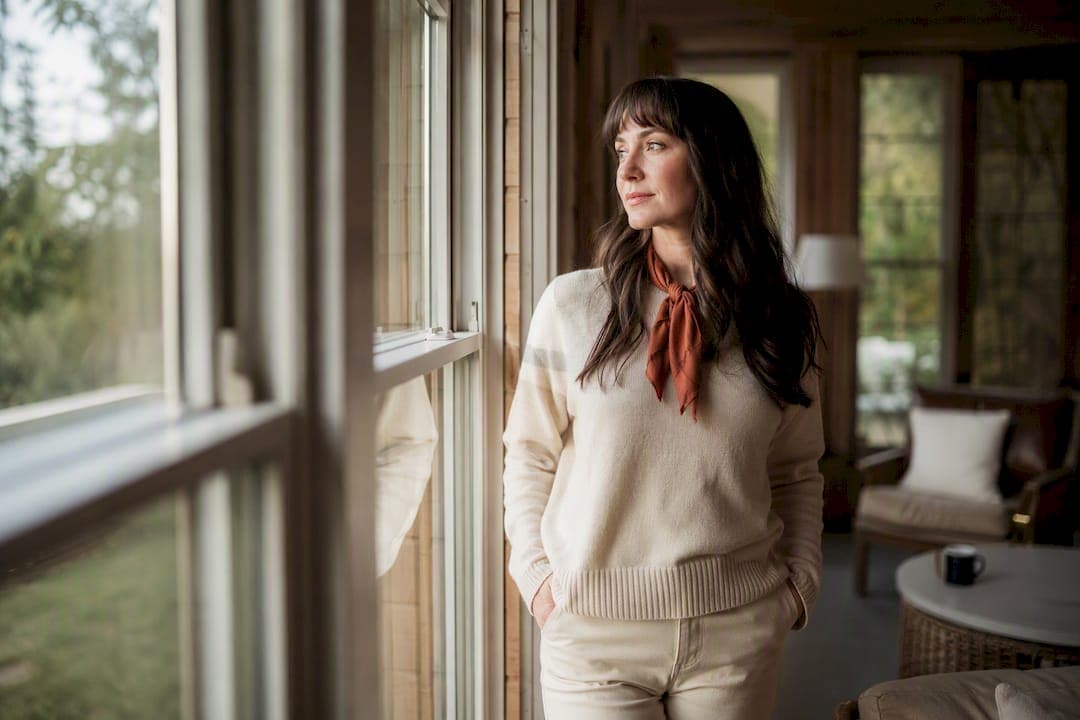
The most reliable way to shoot a natural light portrait is to find soft, directional light, such as open shade, window light or golden hour, then expose for the subject's face rather than the background. Stand your subject at an angle to the light source, bounce light back into the shadows with a reflector or a light wall, and start at roughly f/2 to f/2.8, 1/200 to 1/500 second and ISO 100 to 400. Everything else in portrait photography builds on those three decisions.
TL;DR:
- Shooting at roughly f/2 to f/2.8, 1/200 to 1/500 second, and ISO 100 to 400 provides a strong foundation for natural light portraits.
- Overcast or open shade conditions are the most forgiving, offering long-lasting, soft light suitable for beginners and professional work alike.
- Position your subject just inside the shade line facing open sky or near a window to maximize flattering ambient light without harsh shadows.
- Use environmental reflectors like white walls, concrete, or a foam board to bounce light onto the subject and enhance fill.
- Adjust camera white balance accurately or shoot in RAW to manage colour temperature shifts caused by changing light sources or weather conditions.
Table of Contents
- What are the main types of natural light for portraits?
- How do you set up practical natural light techniques on location?
- What camera settings and lenses work best for natural light portraits?
- How do you compose and pose for natural light portraits?
- How do backlight and blue hour techniques work?
- How do you fix the most common natural light mistakes?
- How does a professional studio run a natural light session?
- Why does colour temperature change so much between light sources?
- How does weather change the way you shoot natural light portraits?
- How do you balance natural light with artificial light sources?
- What post-processing steps suit natural light portraits?
- Learning to see the light
- Ready to put these techniques into a real session?
- Sources
- FAQ
What are the main types of natural light for portraits?
Every natural light portrait comes down to one of five conditions, and recognising which one you're standing in tells you almost everything about how to shoot it.
Golden hour happens in the hour after sunrise and the hour before sunset, when the sun sits low enough that its light travels through more atmosphere and turns warm and soft. It's forgiving on skin tones and throws long, flattering shadows, but the window is short. In summer you might get a full hour; in winter, especially at higher latitudes across New Zealand, it can shrink to twenty minutes.
Blue hour follows golden hour, running roughly 15 to 40 minutes after sunset. The sky holds a cool, saturated blue that most photographers overlook because they've already packed up. It suits static, moody portraits shot from a tripod rather than anything with movement.
Overcast and open shade are the workhorses. Cloud cover functions as a natural softbox, scattering sunlight evenly across the sky rather than letting it strike from one hard angle.
- Overcast skies act as a giant diffuser, producing shadow free light that stays consistent for hours rather than the brief window golden hour offers, according to Fstoppers.
- Open shade under trees, verandas or the shadow side of a building gives the same soft quality even on a bright day.
- Both conditions are far more forgiving for beginners than trying to fight direct sun.
Direct midday sun is the condition most portrait photographers avoid, and for good reason: it creates harsh shadows under the eyes and nose and makes subjects squint. It's not unusable, though. Standing your subject right at the edge of a shadow line, where direct light meets shade, gives you a soft transition with just enough directionality to add shape without the harshness.
Quick reference: Golden hour = warm and short. Blue hour = cool and brief, tripod required. Overcast/open shade = soft and long-lasting. Direct sun = harsh, best used at the shade line or avoided.
How do you set up practical natural light techniques on location?
Four repeatable setups cover most situations you'll face, whether you're shooting a friend's headshot in a car park or a full session for a paying client.
1. The open shade setup. Position your subject just inside the shade line, facing out toward the open sky rather than into the depths of the shadow, so their face still catches ambient light. Keep the background at least a few metres behind them to avoid it competing for attention, and look for a patch of colour or texture, like a brick wall or hedge, rather than a cluttered street scene.
2. The doorway or window method. This is the fastest way to shoot a flattering portrait indoors without any gear. Position your subject three to six feet from a window; any closer and the light gets contrasty, any further and it gets weak and flat. Turning the subject about 45 degrees to the window, rather than facing it head on, creates modelling across the face instead of flattening it. Watch for a small, defined catchlight appearing in the eyes, that's your confirmation the light is doing its job. If the room has a pale wall opposite the window, it will bounce light back into the shadow side of the face for free.
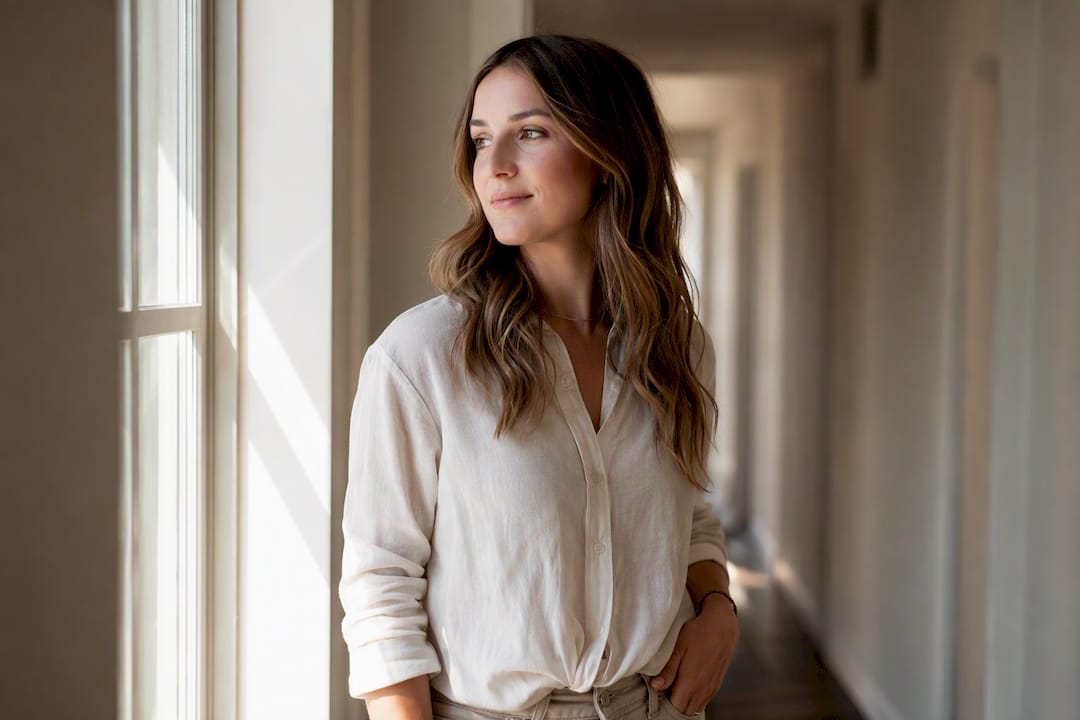
3. Environmental reflectors. You don't need to buy anything to bounce light. A white wall, a concrete footpath, sand or even a car windscreen can throw usable fill back onto your subject. If you do carry gear, a 5-in-1 reflector remains one of the most cost-effective tools in a portrait kit: white gives neutral, soft fill; silver adds contrast and brightness; gold warms the skin (useful on overcast days that can look a little flat and cool); and black subtracts light, which is handy when you want to deepen shadow on one side of the face for a more sculpted look.
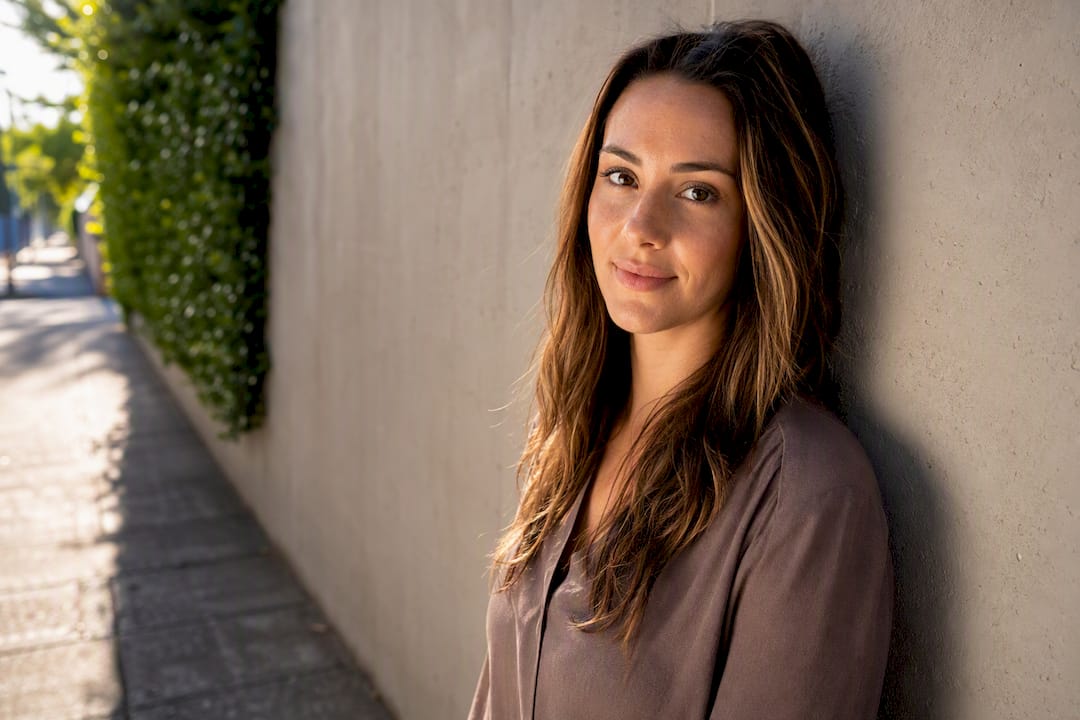
4. The one-minute solo setup. Working without an assistant is common, and it doesn't need to slow you down. Find your light first, then walk your subject into it, rather than the reverse. A car boot, a fence, or even your own body can prop a reflector at an angle while you shoot handheld.
Pro Tip: Carry a plain white foam board in the car. It folds flat, costs next to nothing, and does 80% of what an expensive commercial reflector does for fill light.
You can build a genuinely professional-looking portfolio using only natural light and considered positioning, long before you need to invest in studio strobes.
What camera settings and lenses work best for natural light portraits?
An 85mm f/1.8 is the classic natural light headshots lens, chosen for the flattering compression it gives facial features and the creamy background separation at wide apertures. A 50mm f/1.4 to f/1.8 is the more versatile choice if you're working in tighter spaces, like a hallway or a small apartment, where an 85mm forces you to back up further than the room allows.
Aperture, shutter speed and ISO shift depending on your subject and the light you're in.
Wider apertures like f/1.4 to f/2.8 are ideal for a single subject, giving separation from the background, while groups need f/2.8 to f/4 to keep everyone in acceptably sharp focus.
For metering, spot or centre-weighted metering locked onto the face gives more reliable exposure than evaluative metering, which tends to average the whole frame and can underexpose skin in backlit scenes. If your subject is backlit and the background is blowing out, dial in positive exposure compensation of around half a stop to a full stop to protect their face, then pull the background back with a reflector rather than the other way round.
A small fill flash or a battery-powered LED panel earns its place in bright backlight or on grey days when a reflector alone isn't lifting the shadows enough. For blue hour, a tripod isn't optional. Shutter speeds regularly drop below a fifteenth of a second, and no amount of steady breathing replaces a tripod's three stable legs.
How do you compose and pose for natural light portraits?
Light does half the work, but a cluttered frame undoes it fast. Beginners consistently place subjects too close to distracting backgrounds, and pulling the subject further from the background noticeably improves separation and bokeh, even without changing the aperture.
A few composition habits make a real difference:
- Keep at least two to three metres between subject and background when using an 85mm lens at f/2, and closer to four to five metres if you want the background fully melted.
- For headshots, frame from mid chest up with the eyes in the top third of the frame; for environmental portraits, pull back enough to show context, a workshop, a garden, a cafe table, without the person becoming small and lost in it.
- Ask your subject to drop and roll their shoulders back slightly before you shoot; it kills the stiff, frozen look almost instantly.
- Give a small physical prompt, like a slow weight shift or a genuine laugh line, rather than "just relax," which almost never works.
- Use fences, paths or shorelines as leading lines to pull the eye toward your subject and reinforce whatever mood the light is already creating.
Our couples posing guide has more detail on cues that read as natural rather than staged, and most of it transfers directly to solo portraits too.
How do backlight and blue hour techniques work?
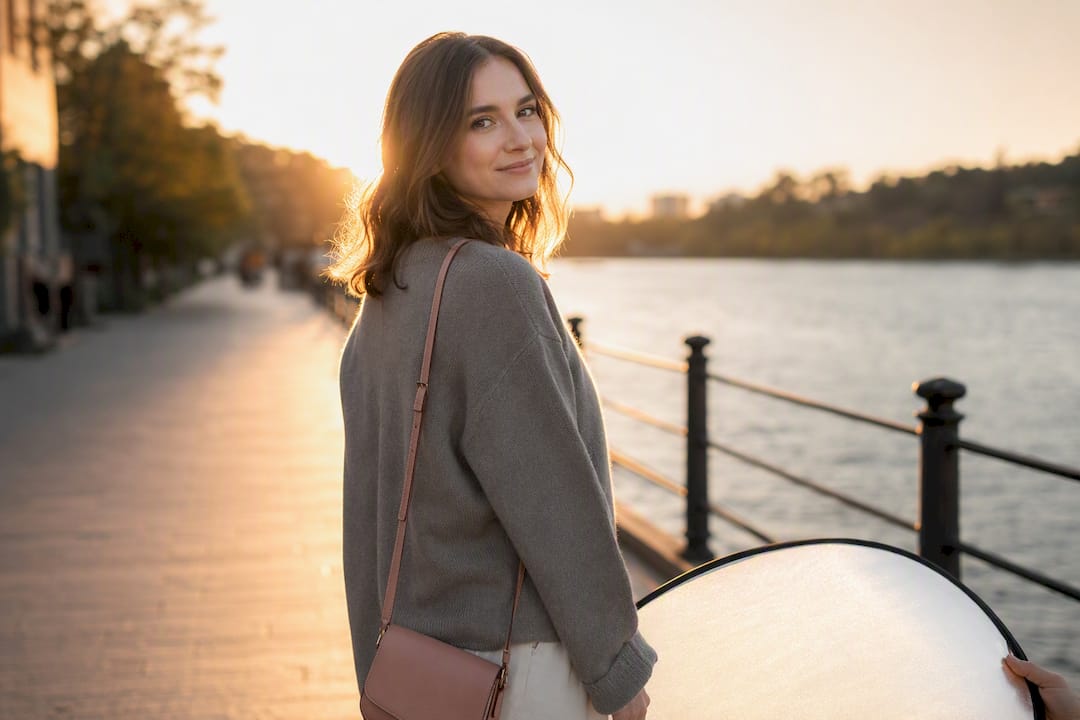
Backlight is where most beginners lose the shot, because the camera's meter reads the bright sky behind the subject and underexposes the face. Meter for the face directly, and expect to add roughly one to one and a half stops of positive exposure compensation to keep it correctly lit while letting the background run brighter behind it. A reflector held low and slightly in front of the subject, or a low-power fill flash, recovers detail without flattening the warm rim light golden hour gives you around the hair and shoulders.
Chiaroscuro, the deliberate use of strong shadow against a small amount of light, works well for editorial or moody portraits. Turn your subject away from open sky and toward a single directional source, like a doorway or a narrow gap between buildings, and let the far side of the face fall into shadow rather than filling it. This is called negative fill, and it's the opposite instinct to everything else in this guide, but it earns dramatic results when used sparingly.
For blue hour, lock the camera to a tripod, drop ISO as low as the shutter speed allows (often 400 to 1600), and set white balance to daylight rather than auto, which will often try to warm the scene up and destroy the cool tone you're after.
Pro Tip: If you only have five minutes of blue hour before it's gone, shoot wide open and worry about focus stacking or extra frames later. The light won't wait for a second take.
How do you fix the most common natural light mistakes?
Most problem sessions trace back to one of four fixable issues.
- Harsh midday sun. Move to open shade or the edge of a shadow line rather than trying to shoot straight through it. If no shade exists, a diffuser panel held overhead softens the worst of it.
- Blown highlights. Check the histogram, not just the screen preview. Pull exposure back a third to two thirds of a stop and use a reflector to lift shadow detail instead of relying on heavy recovery in RAW editing later.
- Flat, lifeless light or a stiff expression. Change your angle before you change anything else. Moving 45 degrees around your subject often reveals modelling that was invisible from straight on, and a simple prompt to move or laugh usually fixes the expression.
- Busy or distracting backgrounds. Move the subject, not the camera, wherever possible. Three steps left or right often finds a cleaner backdrop without losing the light you'd already found.
Run through that order (move subject, check angle, check histogram, change lens or distance) before you assume the light itself is the problem. Nine times out of ten, it isn't.
How does a professional studio run a natural light session?
A typical outdoor or on-location photography session follows a simple sequence: scout the location for open shade, doorways or a clean wall before the client arrives, then set up the first shot around whichever light source is strongest at that time of day.
- We shoot a loose sequence rather than a rigid shot list, starting with safe, flattering angles before pushing into more creative backlight or shade-line setups.
- Rapport comes first. A relaxed subject photographs better than a technically perfect setup with a stiff one, which is why our sessions prioritise conversation over instruction.
- Gear stays minimal on location: a body, one or two lenses, and a reflector cover most of what a session needs.
- On-the-fly fixes, like relocating three metres to avoid a harsh patch of sun, happen constantly and rarely interrupt the flow of the shoot.
You can see how this plays out across finished sessions in our personal branding portfolio or browse the wider photography portfolio for a broader sense of the range natural light allows.
Why does colour temperature change so much between light sources?
Every light source carries its own colour temperature, measured in kelvin, and it shifts the mood of a portrait before you even open editing software. Golden hour sits around 3,000 to 3,500K, which reads warm and orange to the sensor. Open shade and overcast sky often run cooler, closer to 6,500 to 7,500K, giving images a blue or grey cast if left uncorrected. Blue hour pushes even cooler again.
Auto white balance handles moderate shifts reasonably well, but it struggles with mixed or extreme conditions, especially when a subject is partly in shade and partly lit by a warm reflector. Setting a custom white balance, either by dialling in a kelvin value manually or shooting a grey card at the start of a session, gives far more consistent skin tones across a shoot than trusting the camera to guess scene by scene.
Shooting in RAW gives you the room to fine-tune this later without damaging image quality, which matters more in natural light work than almost any other genre, because the colour temperature is never fully under your control. If you shoot the same subject moving between open shade and direct sun within a few minutes, expect a visible colour shift between frames unless you correct for it individually rather than applying one blanket adjustment across the whole set.
How does weather change the way you shoot natural light portraits?
Weather isn't a backup plan for natural light portraits; it's a genuine creative variable worth planning around rather than working despite. Overcast conditions, as covered earlier, extend your usable shooting window from a tight golden hour into several hours of soft, even light, which is exactly why many professional photographers quietly prefer a grey sky over a clear one for headshots and branding work.
Light rain or drizzle, handled carefully, can add atmosphere and reflective detail on pavement without ruining a shoot, provided you're protecting gear and working under some form of cover. Wind is the more disruptive factor in practice: it moves hair unpredictably and can shift a carefully placed reflector, so faster shutter speeds and a firmer grip on any handheld light shaper become necessary on breezy days.
Clear, bright days with no cloud cover are the trickiest condition despite looking the most inviting. They force you back onto the open shade and edge-of-shade techniques covered earlier in this guide, because direct sun on a cloudless day is the harshest light you'll encounter. Given how changeable conditions can be across a typical Auckland week, it pays to have both a sunny day plan and an overcast day plan ready before you book a session, rather than hoping the forecast holds.
How do you balance natural light with artificial light sources?
Mixed lighting, natural light combined with tungsten, fluorescent or LED sources, causes more colour problems than any other single issue in indoor portrait work. A room lit by both a window and ceiling downlights will often show a visible colour split, cool daylight on one side of the face and warm artificial light on the other, unless you address it deliberately.
The simplest fix is to pick one dominant source and treat the other as a problem to manage rather than use. If window light is doing most of the work, switch off or dim the artificial lights near your subject where possible, and let the window carry the exposure. If that's not practical, gel any flash or LED panel you're using to match the colour temperature of the ambient light rather than fighting it, so the two sources blend instead of competing.
Shooting RAW gives you more latitude to correct minor colour casts after the fact, but no amount of editing fully resolves a scene where two light sources of noticeably different colour temperature both fall strongly on the subject's face. When in doubt, move your subject fully into the natural light source and let the artificial light fall on the background instead, where a slight colour shift reads as atmosphere rather than a mistake.
What post-processing steps suit natural light portraits?
Editing a natural light portrait should protect the qualities that made the light work in the first place, not override them. Start with white balance correction if the in-camera setting didn't quite match the scene, using the eyedropper tool on a neutral tone like a grey shirt or pavement as a reliable reference point.
Skin tones deserve careful, restrained adjustment rather than aggressive smoothing. A slight lift in shadows recovers detail that open shade or overcast light naturally softens, while a small pull on highlights protects any bright sky or backlit rim you deliberately let blow out slightly during the shoot. Adding a touch of warmth in golden hour images reinforces the mood rather than fighting it, whereas blue hour images generally benefit from leaving the cool tone alone or even deepening it slightly for atmosphere.
Selective dodging and burning, brightening the eyes a touch and gently darkening the edges of the frame, draws attention back to the face without looking obviously retouched. Avoid heavy clarity or texture sliders on skin; they tend to fight against the soft, forgiving quality that open shade and overcast light already gave you for free. The goal in every edit is the same one that guided the shoot: let the natural qualities of the light do the work, and use editing to support that, not replace it.
Learning to see the light
Every technique in this guide comes down to one habit: learning to actually look at the light before you lift the camera. That single shift, watching where shadows fall and how a face turns toward or away from a window, improves portraits faster than any lens or accessory ever will.
Try the doorway setup and the open shade setup this week, on anyone who'll sit still for you. You'll notice the difference immediately.
— Rowan Freeman
Ready to put these techniques into a real session?
Practising open shade and window light setups on your own is genuinely useful, but there's a real difference between a decent DIY portrait and one shaped by someone who reads a room's light in seconds and has a plan for every backup scenario. Photography work often includes headshots, personal branding, couples, maternity and fitness photography, with sessions that lean on the same natural light principles covered in this guide, refined over many shoots.

Booking is straightforward. Here's what to expect:
- A short chat beforehand about the look you want and where you'll use the images.
- A session scouted for the best available light, whether that's studio, on-location, open shade or golden hour.
- A relaxed, guided shoot designed to put even camera-shy clients at ease.
- A curated gallery of edited images delivered after the session.
If you want headshots that look natural rather than corporate, browse our headshot photography services, or check the personal branding portfolio to see how these techniques translate into a finished set. Get in touch to check availability and lock in a session date.
Sources
- Portrait Photography for Beginners: Master Natural Light | Fstoppers
- Natural light portrait photography guide | Aftershoot
- How to photograph portraits in natural light without a reflector | ViewBug
- Golden hour photography guide | LightScout
FAQ
What is the three light rule in photography?
It refers to a lighting setup using a key light, fill light and back light to shape a subject; in natural light work, the sun or window acts as your key, a reflector provides fill, and a secondary source or rim of backlight adds separation.
What are natural light photos?
They're images lit entirely by ambient sources like sunlight, sky light or window light, rather than flash or studio strobes, and they tend to look softer and more candid as a result.
How do you take good photos in natural light?
Find soft, directional light such as open shade, window light or golden hour, expose for the subject's face using spot metering, and use a reflector or environmental bounce to fill in shadows on the darker side of the face.
How do you mimic natural light for photos?
Bounce an LED panel or flash off a white wall or diffuse it through a translucent panel to soften and spread it, then match its colour temperature to any ambient light already in the scene so the two sources blend rather than clash.
Does Life in Style Photography use natural light for sessions?
Yes, natural light techniques like open shade, window light and golden hour form the basis of many on-location sessions, including headshots, personal branding and couples photography.