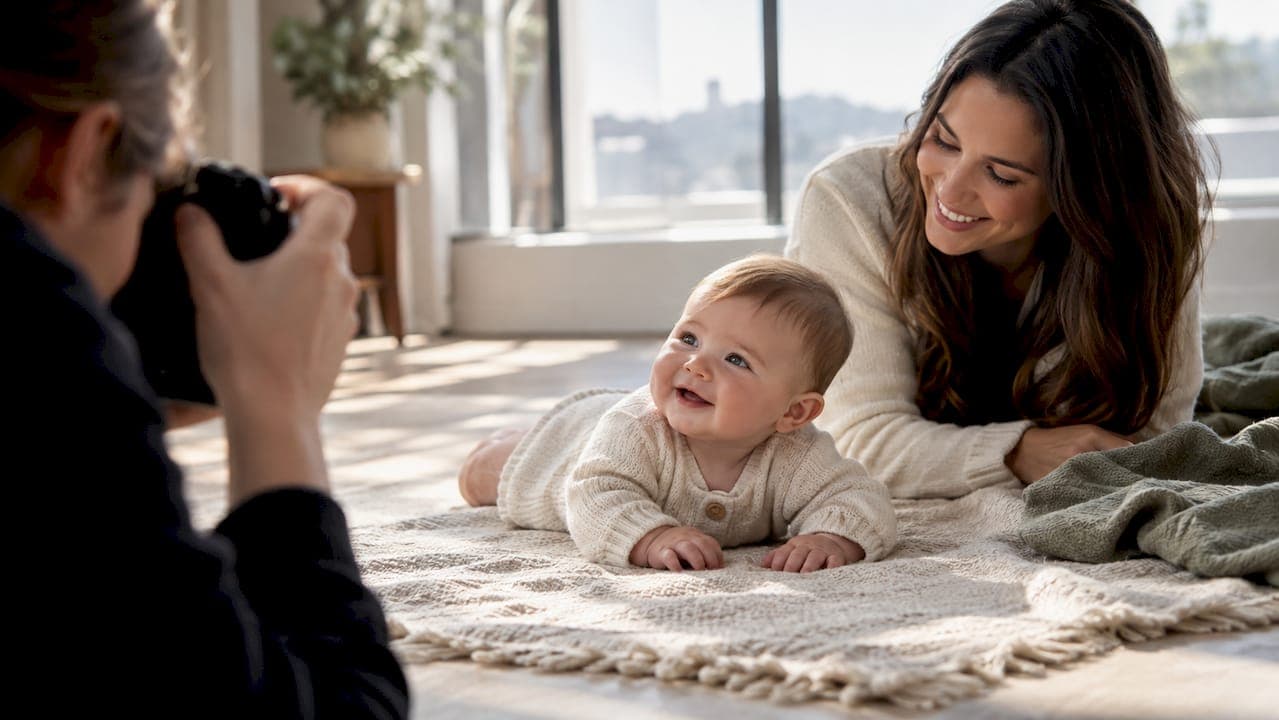
Pick one simple, repeatable setup, then photograph what your baby actually does each month rather than what a calendar says they should do. Follow Plunket's development milestones as flexible prompts, not deadlines. Date every file the day you shoot it, back it up in two places, and you'll end the first year with a proper archive rather than a scattered camera roll.
TL;DR:
- Take photos at consistent times and lighting conditions, using the same background and camera height to create a coherent monthly series.
- Focus on capturing natural, candid moments and avoid overly posed shots, as genuine expressions will be more meaningful over time.
- Prioritize safety by supervising the baby at all times, avoiding unsupported or props that could pose hazards in milestone photos.
- Use simple, washable props like blankets or minimal number cards, and plan your digital archive with file naming and backups from the start.
- Consider professional sessions for complex shots or to include the whole family, especially if the baby is unsettled or camera-shy.
Table of Contents
- Baby milestone photos month by month: what to shoot and when
- How to get better baby photos with the gear you already own
- Keeping milestone shoots safe, and what to think about before you post
- Choosing milestone props: blankets, cards, letterboards or blocks
- A simple workflow to turn twelve photos into an archive
- When a professional session makes sense
- Perfect timing doesn't matter as much as showing up
- Book a Baby Photography Session With Life in Style Photography
- Where to check the details
- Sources
- FAQ
Baby milestone photos month by month: what to shoot and when
The trick to a first-year series that actually looks like a series is repetition, not variety. Pick a blanket, a wall, a chair, or a rug and stick with it. Keep your camera at the same height and the same distance for as long as it's practical, then let the baby be the only thing that changes in the frame.
Plunket's guidance splits the first year into three loose windows, and each one gives you natural photo opportunities:
- Newborn: detail shots of fingers, toes, and ears, plus a family member holding the baby. This is the week to get the "small hand around a big finger" shot everyone wants later.
- 1 to 3 months: the head-lift during tummy time, early smiles, and those first proper moments of eye contact with the camera.
- 4 to 6 months: reaching for toys, rolling attempts, and early sitting with support. This is usually when you'll need to move your setup to the floor.
- 6 to 9 months: crawling, pulling up on furniture, peek-a-boo games, and any interactive shot where the baby responds to you rather than just sitting for the camera.
- 9 to 12 months: cruising along furniture, standing unsupported, waving, and the first steps or first-word moments if they land in this window.
- 12 months: a proper birthday portrait, ideally using the same anchor (blanket, wall, or chair) you started with so the growth is obvious side by side.
Because development varies so much between babies, treat these windows as prompts rather than a schedule. A baby who sits at five months and one who sits at seven months are both developing normally, and Plunket's own framing backs a flexible, individual approach over a rigid checklist. Missing a "month five" photo because nothing new happened that week isn't a failure. It just means month six gets two milestones instead of one.
How to get better baby photos with the gear you already own
You don't need a proper camera to build a good milestone archive. You need consistency and a few habits that cost nothing.
- Shoot near a window, at a similar time of day. Soft, indirect daylight is more flattering than a lamp and far more forgiving than direct sun, which tends to create harsh shadows on a small face.
- Lock your camera height and orientation. If month one is a straight-on shot from a metre away, keep that framing for as many sessions as you can. It's what makes a side-by-side comparison actually work later.
- On a phone, turn on the grid, use burst mode for anything moving, and tap the screen to set focus and exposure on the baby's face, not the background.
- Take a wide context shot first, then move in for close-ups of the face, hands, and feet. You'll want both when you look back.
- Capture the moments either side of the milestone, not just the milestone itself. The look of concentration before a baby rolls over often says more than the roll itself.
Pro Tip: Don't chase the perfect posed shot. A slightly blurry photo of your baby mid-laugh will mean more in five years than a sharp one of them staring blankly at the lens.
Keeping milestone shoots safe, and what to think about before you post
Supervision is non-negotiable, and it should never be traded for a "cuter" shot. Plunket's home safety guidance is worth reading in full, but the photography-specific version comes down to a short list:
- Never leave a baby unsupported on a raised surface, even for a second, to get a better angle.
- Avoid sleep poses and anything that suspends or props the baby unnaturally.
- If you're photographing a sleeping baby, treat it as a safety situation first: back sleep position, face clear of blankets and cushions, and someone within arm's reach.
- Reassess props every session. What was safe at three months (a soft toy nearby) can become a mouthing hazard by seven months.
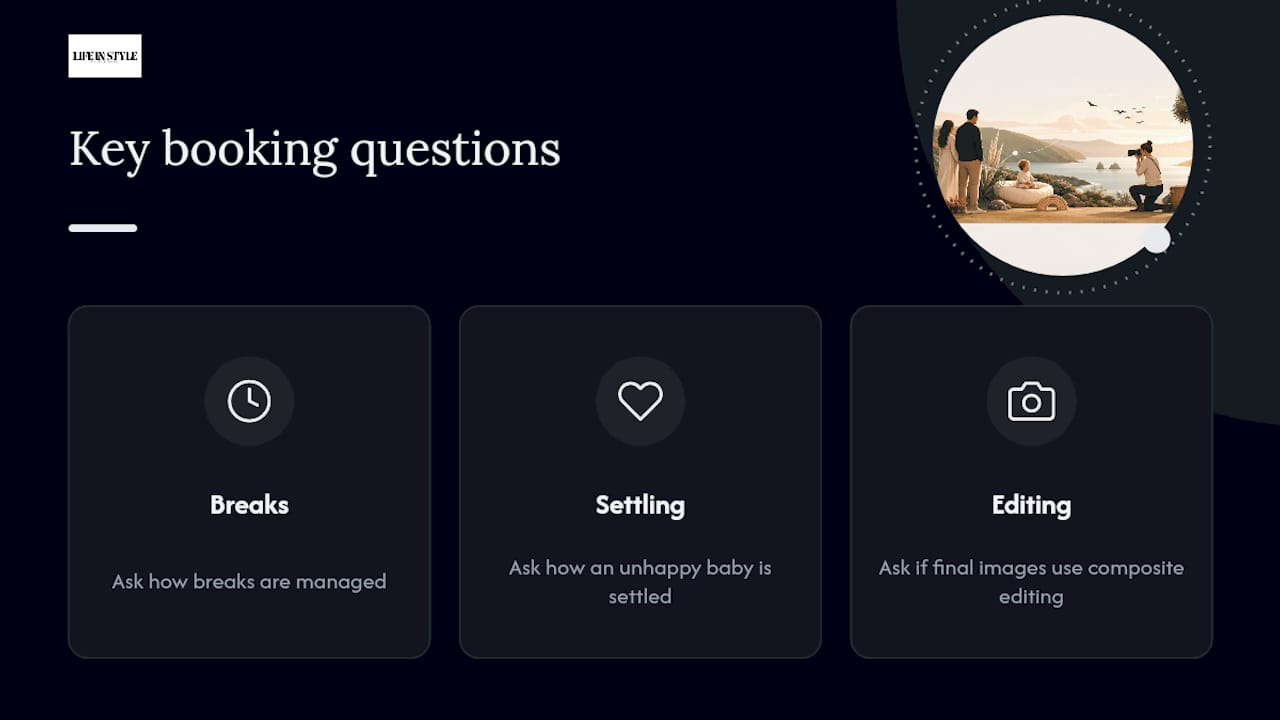
One habit worth adopting early: keep your original, high-resolution files private, and only share a lower-resolution copy in a restricted family group. The Classification Office's advice on posting children's photos is blunt about this: once an image is public, you've lost control of where it ends up. If you ever hire a photographer for part of this journey, it's fair to ask them directly how they handle supervision, breaks for the baby, and whether any shots are composite edits.
Choosing milestone props: blankets, cards, letterboards or blocks
Every format has trade offs, and the right one depends on how much you're shooting versus storing.
- Blankets and mats give you a consistent background that's easy to crop later, but check the fabric is washable, since this piece gets used every month for a year.
- Number cards and letterboards make the age instantly readable in the photo, and they're compact to store between sessions compared with bulkier props.
- Wooden blocks and small props look lovely in photos but become a mouthing risk once your baby starts putting things in their mouth, usually from around four months.
- Frames and photo books are worth planning early. If you know your final format is a square photo book, shoot with that crop in mind from month one.
If you're buying any of these online, check New Zealand stock and return policies before ordering, since a lot of milestone props are shipped from overseas and sizing or fabric can differ from what's pictured.
A simple workflow to turn twelve photos into an archive
Decide your visual anchor in month one, then take a reference photo you can check against later. Each session, shoot a short burst rather than one frame, and always grab a wide context shot plus close-ups.
- Name files by date and age ("2026-03-14_4months") so the folder sorts itself chronologically.
- Keep every original, even the ones that look like duplicates. You can't get that exact moment back.
- Add a one-line caption immediately, while you still remember what was actually happening.
- Back up to two places, a local drive and a cloud service, and export a low-resolution set for anything you plan to share.
Pro Tip: Do the backup the same day you shoot, not "this weekend." Phones get lost, dropped, and stolen more often than people expect, and a milestone series only exists in one place until you've copied it twice.
When a professional session makes sense
Some parents want the whole first year on camera themselves, and that's a genuinely rewarding project. Others want at least one session where someone else handles the lighting, the camera-shy toddler, and the family grouping while they focus on the baby. That's where Life in Style Photography's Maternity and Baby photography services fit in, with a Tiny Moments - Baby shoot and a Quick Maternity shoot among the options.
A professional session is particularly useful for unsettled or camera-shy babies, and for getting the whole family in frame at once, which is hard to manage solo with a tripod and a timer. If you're weighing up a booking, it's a fair question to ask any photographer, including us, how they manage breaks, settle an unhappy baby, and whether any final images involve composite editing. For extra ideas on what to wear to a session, our guide to newborn session outfits is worth a read before you book.
Perfect timing doesn't matter as much as showing up
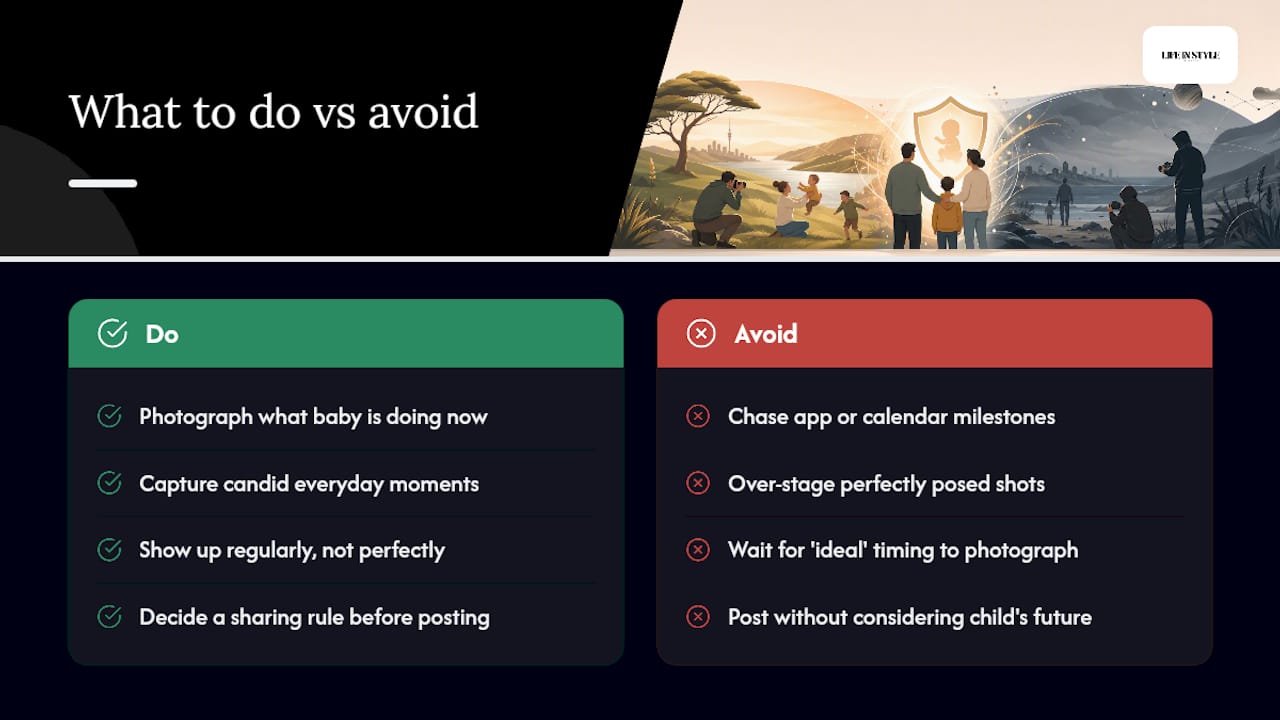
Development is not a race, and a milestone missed on schedule is not a milestone lost. Photograph what your baby is actually doing this week, not what the app or the calendar says they should be doing.
The photos that matter most in ten years are rarely the perfectly staged ones. They're the hand reaching into frame, the parent mid-laugh beside the cot, the slightly wonky number card held up by a toddler who wouldn't sit still. Decide your sharing rule before you post anything, because your child inherits whatever digital footprint you build for them now.
— Rowan Freeman
Book a Baby Photography Session With Life in Style Photography
If a full year of DIY setups sounds like more admin than you want on top of a newborn, a single professional session gives you the archive-quality shots without the trial and error. A relaxed, engaging photography approach can be helpful for babies who won't perform on cue and for parents who prefer not to be behind the camera. You show up, we handle the lighting, the framing, and the settling of an unimpressed six-month-old.

The Tiny Moments - Baby shoot is available for a one-off fee, and the Quick Maternity shoot is also available for a separate one-off fee if you want to capture the lead-up too. Before booking, feel free to ask us directly about supervision, break schedules, and how we handle an unsettled baby mid-session. If you're planning your DIY sessions around family travel this year, our partner's family travel planning guide has some useful timing tips. Enquire through the Maternity and Baby photography page to check dates.
Where to check the details
- Whānau Āwhina Plunket for development milestones and home safety
- HealthEd for newborn photo prompts and family shots
- Classification Office for sharing and privacy guidance
Sources
FAQ
When should you take baby milestone photos?
There's no fixed date, since babies hit developmental stages at different times. Use Plunket's milestone windows, newborn to 3 months, 4 to 6 months, and 6 to 12 months, as flexible prompts and photograph what your baby is genuinely doing that week.
Is 4 weeks too late for newborn photos?
No. Four weeks still count as newborn, and many families shoot detail shots and family photos anywhere from a few days to several weeks after birth. If you're aiming for a very sleepy, curled-up newborn look specifically, earlier tends to work better, but a month-old baby still gives you plenty of genuine newborn detail.
Is there a free app that shows baby milestones in photos?
There isn't one specific app recommended here, but you don't need one. A simple folder system with dated filenames, backed up to your phone's cloud storage and a second location, achieves the same result without relying on a third-party app continuing to exist or stay free.
What are some creative milestone photo ideas beyond the standard shots?
Try tooth-eruption themed prompts once the first tooth appears (lower front teeth usually come first), sibling-involved shots where an older child "introduces" the baby to something new each month, or a repeated object in frame, like a favourite toy, that shows scale as the baby grows around it.
Does Life in Style Photography offer baby milestone sessions?
Yes. Life in Style Photography offers a Tiny Moments - Baby shoot at $345 NZD one-off and maternity sessions including a Quick Maternity shoot at $460 NZD one-off and an Extended Maternity shoot at $690 NZD one-off, all bookable through the Maternity and Baby photography page.