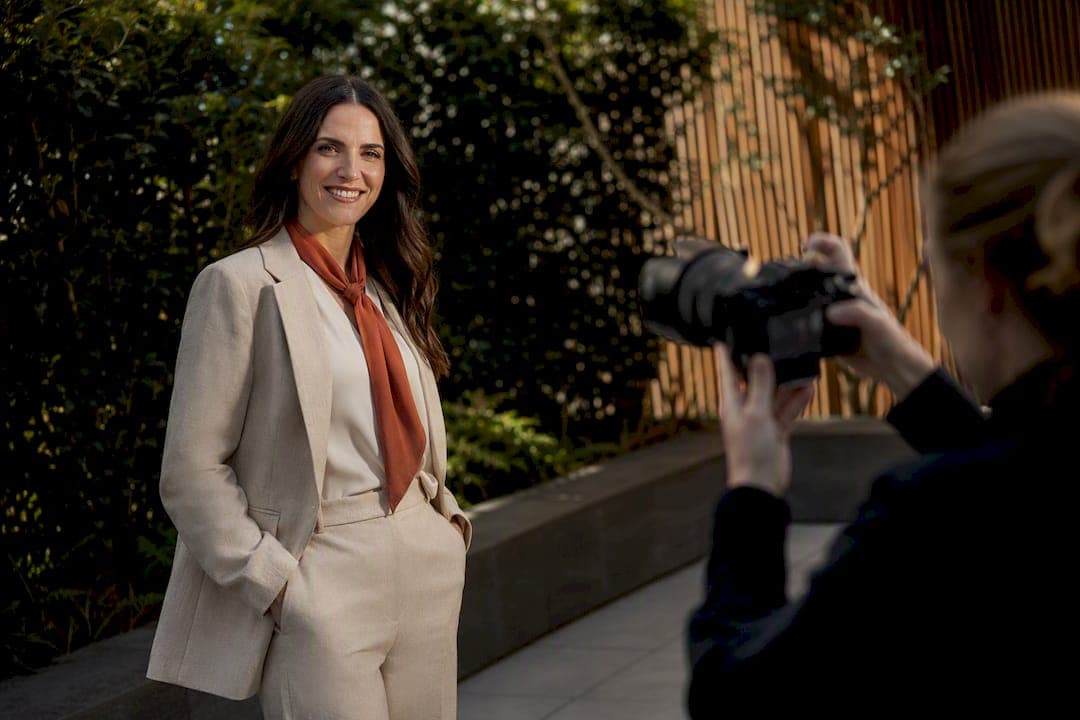
A strong LinkedIn headshot has your face filling roughly 60% of the frame, sharp eyes, a genuine approachable expression, a clean background, and enough resolution to survive LinkedIn's compression. Get those five things right and your profile reads as credible before anyone reads a word of your bio. A skilled photographer has coached many camera-shy clients through exactly this, and the fixes are almost always small.
TL;DR:
- Use a plain, mid-tone background and fill about 60% of the frame with your face for sharp, credible LinkedIn headshots.
- Shoot at eye level with soft, natural light and lock focus on your eyes to ensure clarity and flattering facial features.
- Prioritize genuine, approachable smiles and slight head tilts over forced expressions to increase perceived likability and professionalism.
- Crop and frame the shot accounting for circular LinkedIn display, keeping eyes in the upper third and at least 15% inside the edges.
- Booking a professional session is advisable for high-stakes updates like leadership announcements or when consistent, high-quality images are required across your team.
Table of Contents
- LinkedIn headshot guide: the 10-step checklist
- How should you frame and crop the shot?
- What lighting and camera setup actually works?
- What should you wear and how should you groom?
- What posing and expression actually works?
- How do you edit and export the final file?
- Common headshot mistakes and quick fixes
- When does a professional session make sense?
- Final checks before and after you upload
- How do you prepare mentally and physically before the shoot?
- What does a great headshot look like across different industries?
- What clients most often miss
- Book a headshot session with Life in Style Photography
- Sources
LinkedIn headshot guide: the 10-step checklist
Run through this before you shoot, whether you're using a phone or booking a studio.
- Choose a plain, mid-tone wall or softly blurred outdoor spot as your background.
- Position your face to fill about 60% of the frame.
- Shoot at eye level, not from above or below.
- Use soft, indirect natural light or a simple LED panel.
- Wear solid colours in mid tones; skip busy patterns.
- Relax your shoulders and angle your body slightly away from the lens.
- Aim for a genuine, mild smile with engaged eyes.
- Lock focus on your eyes before the shutter fires.
- Export at 800 to 1,200 pixels square, JPG or PNG, under 8 MB.
- Test the image as a small circular thumbnail before you upload it.
Two technical notes matter more than people expect. LinkedIn's own minimum photo size is 400×400 pixels, but sharper results come from uploading larger and letting LinkedIn compress down, rather than uploading at the bare minimum.
Pro Tip: Shrink your finished image to thumbnail size on your screen before you upload it. If your face and expression still read clearly at that size, it's ready.
How should you frame and crop the shot?
LinkedIn displays most profile photos as circles, in search results, comments, and on mobile, which means anything near the corners of a square image gets clipped. Composition needs to account for that circle crop from the start, not as an afterthought.
- Keep your face filling close to 60% of the frame, with the top of your shoulders visible.
- Position your eyes in the upper third of the image, not dead centre.
- Leave headroom above your hair. A tight crop through the top of the head looks cramped.
- Keep every important detail at least 15% inside the frame edges so the circle crop doesn't cut through your chin or ear.
A common mistake is framing for a square and forgetting the crop. Composition guides built for LinkedIn consistently recommend designing around the circle first, then checking the square view second. If your shoulders are cropped too tight or your head brushes the top edge, pull the camera back and reshoot rather than cropping tighter in editing.
What lighting and camera setup actually works?
Soft window light is the most reliable default. Face a large window with diffused daylight (avoid direct sun) and you'll get even, flattering light with no special gear.
For a simple studio alternative, a single softbox or LED panel angled slightly above eye level does the job, and a small reflector or white card under the chin fills shadows without heavy retouching, a trick borrowed from three-point studio lighting setups.
If you're shooting on a phone:
- Use the main or telephoto lens, never the ultra-wide, which distorts facial proportions.
- Lock exposure and focus on your eyes (tap and hold on most phones).
- Turn on grid lines and use a timer or remote so your hands stay still.
- Wipe the lens. Pocket lint on glass ruins more headshots than bad light.
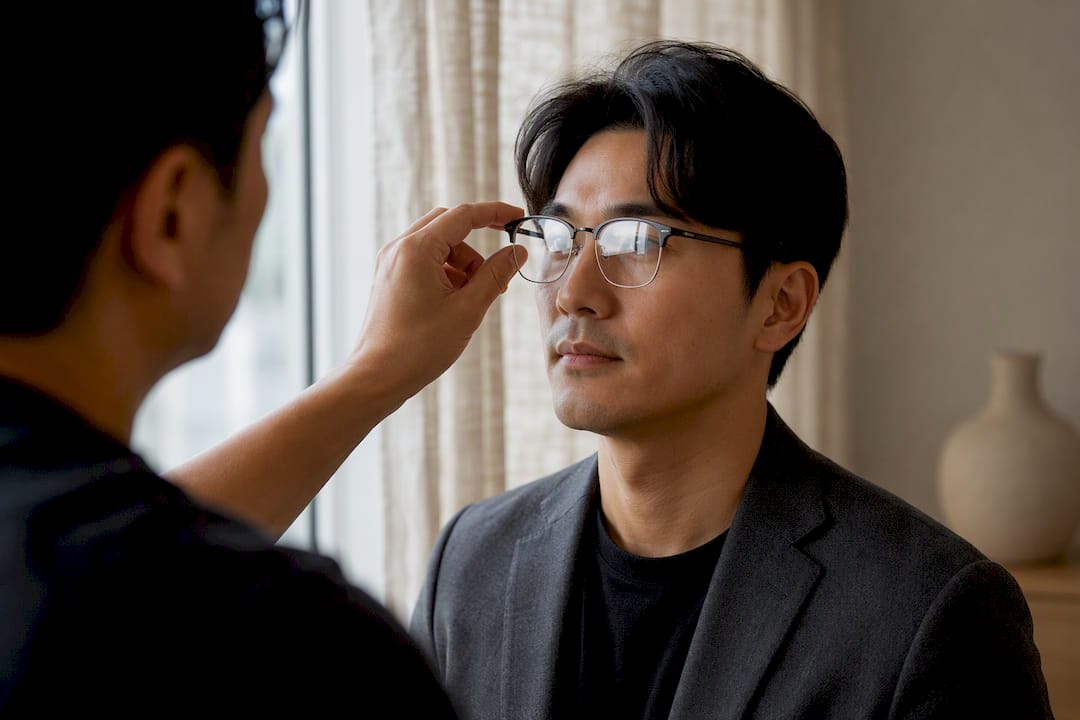
On a DSLR or mirrorless camera, an 85–135mm equivalent lens at f/2.8 to f/5.6, ISO 100–400, and a shutter speed around 1/160 to 1/200 sec gives flattering compression and enough depth of field to keep both eyes sharp. Tilt glasses slightly downward to kill glare, and position your light source just off to one side to create a small catchlight in each eye.
Pro Tip: If you wear glasses, ask whoever's shooting to check the preview for a white lens flare before every set of frames, not just once at the start.
What should you wear and how should you groom?
Solid mid-tone colours photograph better than white, black, or busy patterns, which either blow out, disappear into shadow, or shimmer under compression.
- Choose tailored layers such as a blazer or structured knit over a plain top.
- Match your formality to your sector. Corporate and legal roles read better in structured collars; creative and startup roles can go smart-casual.
- Bring a backup outfit in a different tone in case the first doesn't suit the background.
- Groom the night before, not the morning of. Haircuts and fresh trims need a day to settle.
- If you wear glasses, ask about anti-reflective coatings or angle the frames away from direct light sources.
What posing and expression actually works?
Turn your body about 20 degrees from the camera, drop your chin slightly forward, and roll your shoulders back and down. This single adjustment removes most of the stiffness people associate with "corporate photo face."
The expression matters more than the pose. Research into LinkedIn profile pictures found that genuine, Duchenne-style smiles with visible eye engagement increase perceived likability and competence compared with neutral or forced expressions. That's not a minor stylistic preference. It's the difference between a photo that makes a recruiter pause and one that gets scrolled past.
- Ask the photographer to talk with you between frames rather than repeating "smile" on command; a short, natural conversation reliably produces a more genuine expression than posed instructions.
- Senior executives can lean toward a more composed, closed-mouth expression; client-facing and creative roles usually benefit from warmer, more open smiles.
- Tilt your head a few degrees, never dead level, for a more relaxed, natural look.
How do you edit and export the final file?
- Crop to a square first, checking how it reads inside a circular preview.
- Export at 800 to 1,200 pixels square (or larger), well above LinkedIn's stated 400×400 pixel minimum.
- Save as JPG or PNG in sRGB colour space, keeping the file under 8 MB.
- Retouch lightly: remove temporary blemishes and shine, but leave facial structure untouched.
- Name and archive the original file separately from the exported version, so you can re-export at a different size later without reshooting.
Common headshot mistakes and quick fixes
- Busy or cluttered background: step closer to a plain wall or use a longer lens to blur it out.
- Wrong crop: reshoot slightly wider rather than crop tighter afterwards, which loses resolution.
- Harsh overhead light: move to window light or add a diffuser.
- Forced smile: ask for a moment of conversation before the next frame, not another "smile" cue.
- Over-edited skin: dial back smoothing until texture is still visible.
If the fix is lighting, angle, or expression, a quick DIY reshoot usually solves it. If the problem is composition across every frame or the background genuinely can't be controlled, that's when booking a session makes more sense.
When does a professional session make sense?
Certain moments justify booking a photographer rather than reaching for your phone: a promotion or leadership announcement, media appearances, a company leadership page, or a team-wide headshot refresh where consistency matters across everyone's photo.
A typical session delivers multiple crops, coaching toward a natural expression, controlled lighting, and light retouching, all as standard rather than extras.
Before booking, ask a studio:
- What file sizes and crops are included in the package?
- How much retouching is standard, and what's excluded?
- What usage rights come with the images (LinkedIn only, or website and print too)?
- What's the turnaround time?
Most guides suggest refreshing your headshot every one to two years, or sooner after a haircut, new glasses, or any visible change that creates a gap between your photo and how you actually look in a meeting.
Final checks before and after you upload
- Confirm the crop works inside a circle, not just a square.
- Check your eyes sit in the upper third of the frame.
- Shrink the image to thumbnail size and confirm it still reads clearly.
- Verify sRGB colour space and a file size under 8 MB.
- Open your profile on both desktop and mobile after uploading, since cropping can render slightly differently on each.
- Keep a versioned backup file so you can swap it quickly if anything needs adjusting.
How do you prepare mentally and physically before the shoot?
The days before your shoot matter more than most people expect. Skin holds onto hydration for two to three days, so drinking water and cutting back on salt and alcohol from the day before onward genuinely shows up on camera, reducing puffiness and dullness under lights.
Sleep affects this too. A poor night's sleep shows in under-eye shadows and a flatter expression that no amount of coaching fixes in the moment. Aim for your normal sleep the night before rather than trying to "catch up" the week of.
Skincare should stay simple and familiar. Trying a new product or treatment in the days before a shoot risks irritation or breakouts; stick with your usual routine and add nothing new. A light moisturiser reduces shine better than heavy foundation, which can look cakey under studio or flash lighting.
Mentally, the biggest factor is simply arriving without rushing. Being fifteen minutes early, having water on hand, and knowing roughly what to wear removes the small stresses that show up as tension in your shoulders and jaw on camera. If you're naturally camera-shy, tell your photographer before the shoot starts. A good one will build in time to warm you up with easy conversation before the frames that matter.
What does a great headshot look like across different industries?
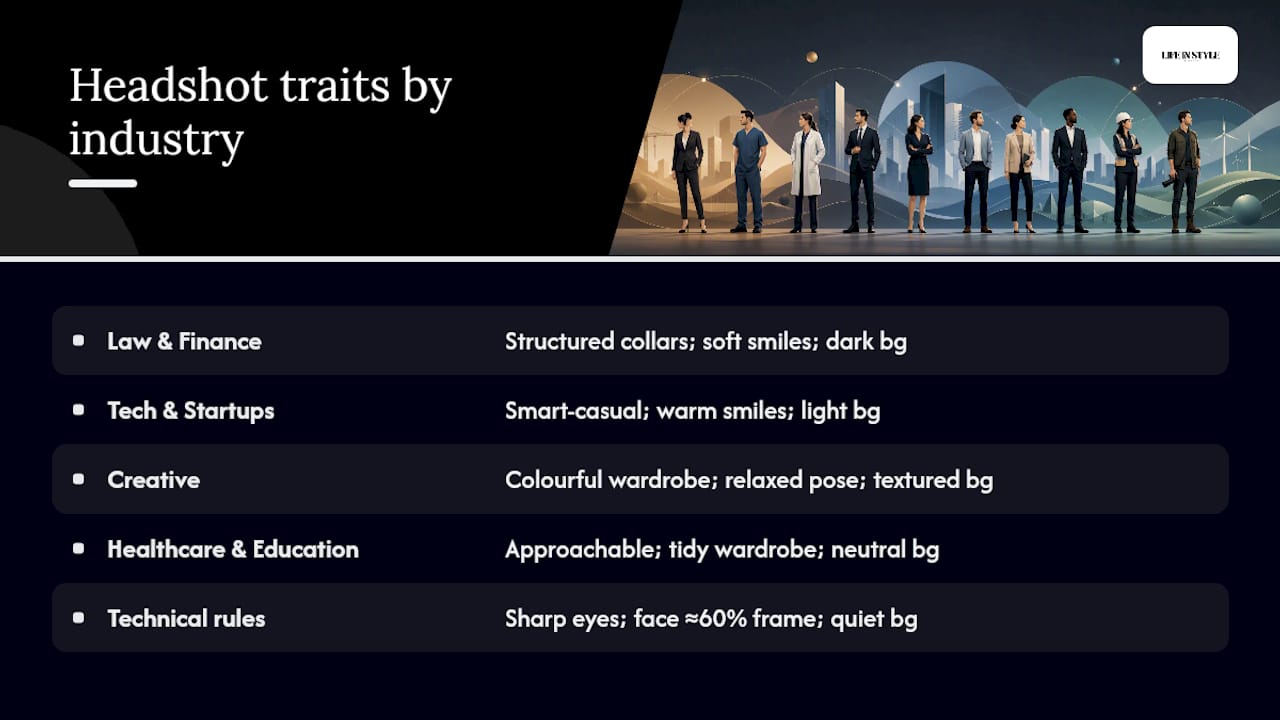
The best LinkedIn headshots share the same fundamentals, but the finishing details shift by industry. In law and finance, headshots tend toward structured collars, closed-mouth or soft smiles, and darker, more neutral backgrounds that signal composure. In tech and startups, smart-casual wardrobe choices and warmer, fuller smiles are common, often shot against lighter or slightly textured backgrounds that feel less formal.
Creative industries, design, marketing, media, allow more personality: colour in wardrobe, a more relaxed pose, sometimes an outdoor or textured backdrop, provided the face still fills the frame and the crop still works. Healthcare and education headshots usually sit in the middle: approachable, warm expressions, but tidy and understated wardrobe that doesn't distract from the face.
What stays constant across every sector is the technical foundation: sharp eyes, a face that fills roughly 60% of the frame, and a background that doesn't fight for attention. The variation is in tone and warmth, not in the underlying composition rules.
What clients most often miss
Most people fixate on their smile and forget the background is doing half the work. One small shift, angling a client three steps to the left, away from clutter, and toward a window, changes a headshot more than any pose direction. If you feel awkward in front of a camera, that's normal, not a flaw. A relaxed setting and a bit of conversation fixes it faster than any amount of instruction.
— Rowan Freeman
Book a headshot session with Life in Style Photography
If you'd rather skip the trial and error, a professional photography service offers a relaxed, on-set approach built specifically for people who feel awkward in front of a camera. Sessions include multiple crops ready for LinkedIn, natural expression coaching instead of stiff posing instructions, and controlled studio lighting that removes the guesswork of window light and reflectors.

Clients based in Auckland can view finished results on the headshot portfolio before deciding, and many pair a headshot session with a broader personal branding shoot if they need images for a website or press beyond LinkedIn. If your update is tied to a new role or a networking push, a freelance networking guide is a useful companion once your new photo is live. To book, visit the headshot photography services page and enquire about package options and availability.
Sources
- (Don't) take me at face value: Decoding personality signals in LinkedIn profile pictures
- Professional headshots: the complete guide (2026) — Capturely
- 33 expert tips for professional business headshots — Grafdom