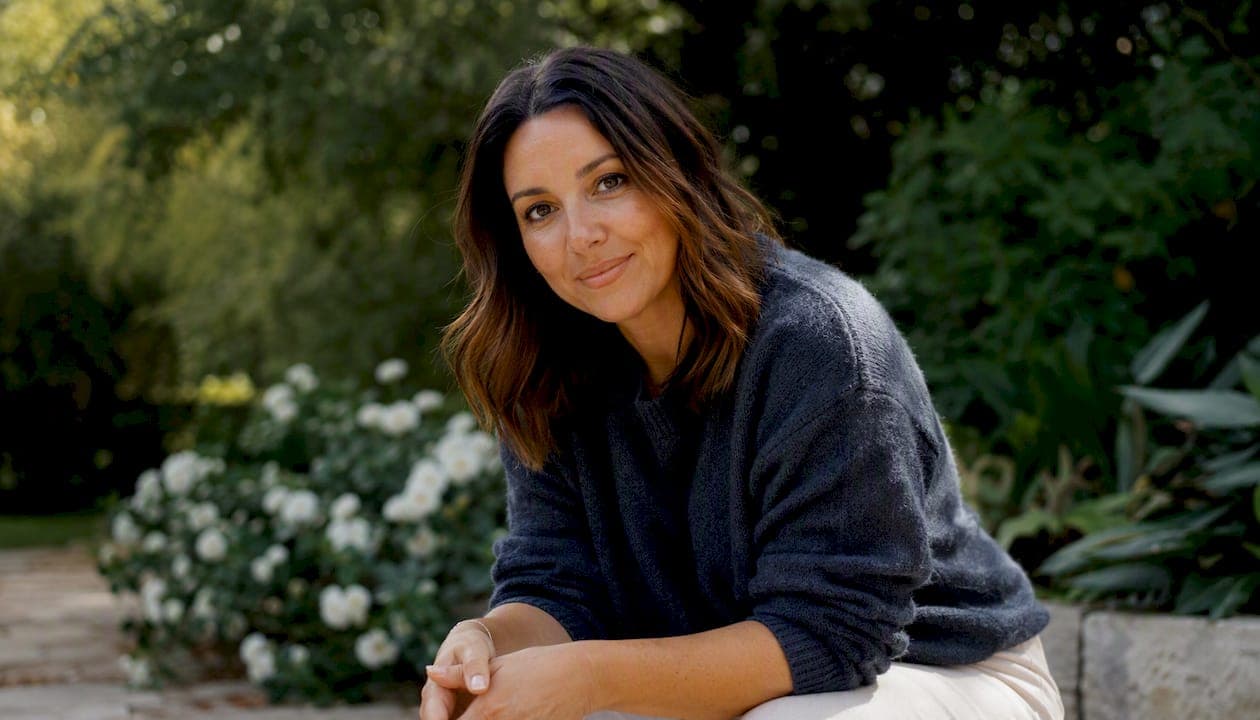
Follow six adjustments and most headshot problems disappear before you even sit down for the shoot: turn your body 30 to 45 degrees off-camera, push your chin forward then tilt it slightly down, drop your shoulders away from your ears, lean in a few centimetres, soften your gaze on the lens, and give your hands a job instead of letting them float. That's the whole system. Everything else in headshot posing is a variation on these six moves.
Think about how fast people judge a profile photo. First impressions form in roughly 100 milliseconds, quicker than most people can read a job title. A LinkedIn crop or an executive bio photo has to do its work instantly, and posing is what carries that weight, not lighting or backdrop alone. At Life in Style Photography, Rowan Freeman spends most of a session directing exactly these small mechanics, because clients rarely need a personality transplant. They need someone telling them where to put their chin.
Here's the checklist to run through before every frame:
- Body angle: turn approximately 30 to 45 degrees from the camera, rather than facing it squarely.
- Chin: push forward slightly, then lower it a touch to sharpen the jawline.
- Shoulders: drop them down and back, away from your ears.
- Lean: shift your weight forward a few centimetres from the hips or ankles.
- Eyes: keep a soft, attentive gaze directly on the lens.
- Breath: inhale, then exhale fully right before the shutter clicks.
- Hands: put them somewhere deliberate, a pocket, a clasp, or out of frame entirely.
One more thing before you start practising: don't hold a pose and smile at the camera like a passport photo. A good photographer captures the moment between poses, the half-second after you laugh at a prompt or shift your weight. Your job isn't to perform stillness. It's to keep moving gently and let the camera catch the good bits.
Key Takeaways
Six mechanical adjustments, body angle, chin position, dropped shoulders, a slight lean, soft eyes and purposeful hands, resolve the majority of common headshot problems.
| Point | Details |
|---|---|
| Turn your body | Rotate 30 to 45 degrees off the lens rather than facing it square on for most roles. |
| Fix your chin | Push it forward, then down slightly, to sharpen the jaw and reduce shadow under the chin. |
| Drop and exhale | Consciously lower your shoulders and breathe out fully right before each shot. |
| Give hands a job | Pocket, clasp, or crop them out entirely, never let them float without purpose. |
| Practise with a phone | Photograph yourself trying different angles and bring reference images to your Life in Style Photography session. |
Table of Contents
- How do you find your best angles for a headshot?
- Why does posture matter more than most people think?
- How do you create a genuine expression instead of a forced smile?
- How does camera height and angle change your headshot?
- What do you do with your hands in a headshot?
- Why do small movements between frames matter?
- What should you wear and how should you groom for a headshot?
- What poses actually work? Eight to practise before your session
- Which posing mistakes ruin the most headshots?
- How should you prepare in the days before your headshot session?
- What does a photographer actually say during a shoot?
- What do I actually look for in a great headshot?
- Prefer to leave the posing to someone else?
- Frequently asked questions about headshot posing
- Sources
How do you find your best angles for a headshot?
The default that works for most people is a three-quarter body turn, somewhere between 30 and 45 degrees off the lens, combined with the chin pushed slightly forward and then dropped a fraction. This single combination fixes the two most common complaints people have about their own headshots: looking wider than they feel, and a shadow under the chin that reads as a double chin even when there isn't one.
The chin move feels wrong the first time you try it. Most people's instinct under a camera is to pull the chin back and tuck it toward the neck, which flattens the jaw and creates exactly the shadow you're trying to avoid. The fix is counterintuitive: push the chin forward toward the lens, then lower it slightly. This lengthens the visible jawline and pulls the skin under the chin taut instead of letting it bunch. Practise it in a mirror. It looks strange to you and looks completely normal in a photo, because you're the only person who has ever seen your own face from that angle.
Body rotation changes the mood as much as the shape. A narrower turn, around 15 to 30 degrees, reads as more formal and carries what people describe as executive gravitas, useful for law firms, finance, or governance roles. A wider turn, 30 to 45 degrees, softens the shoulders visually and reads as warmer and more approachable, which suits real estate agents, consultants, and personal branding shoots. There's no universal rule that beats testing both on your own face, because jawline shape, shoulder width, and even which side you part your hair on all shift which angle flatters more.
Quick mirror checks before your session:
- Turn your body 30 degrees and check whether your far shoulder disappears too much behind your near one.
- Push your chin forward, then down, and watch whether the jawline sharpens or you just look tense.
- Try both a 20 degree and 40 degree turn and photograph both on your phone to compare side by side.
Pro Tip: Shoot 8 to 10 frames while making tiny adjustments to chin height and body rotation between each one. The differences that matter are small, a few degrees of turn or a centimetre of chin drop, not dramatic changes in pose. Scroll through afterwards and you'll usually find one or two frames stand out clearly from the rest.
Why does posture matter more than most people think?
Dropping your shoulders and taking a deliberate breath before the shutter fires does more to make you look relaxed than any other single adjustment. Camera pressure is a physical thing, not just a mental one, and it shows up first in the shoulders. Most people unconsciously raise their shoulders toward their ears the moment a lens points at them, which reads as tension even when the face is doing everything right.
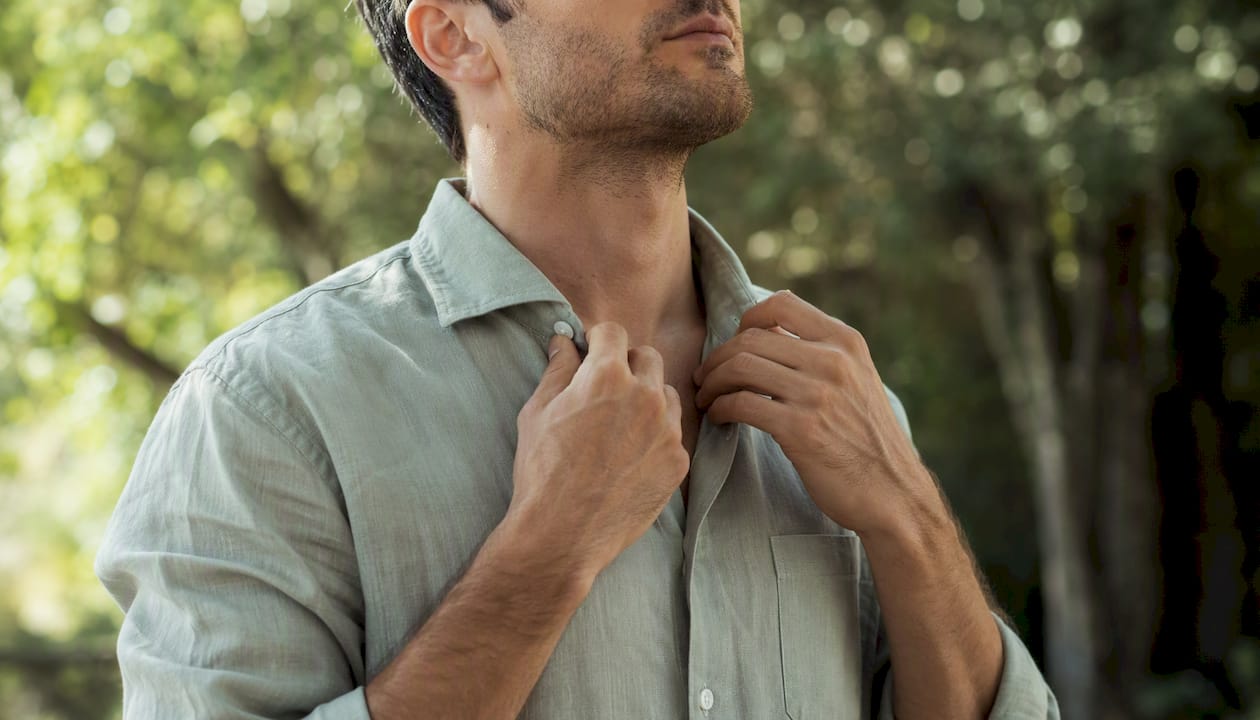
Posture mechanics are simple once you know what to check. Keep your spine in a neutral position rather than arching or slumping. If you're standing, shift your weight onto your back foot, this stops you swaying and gives your upper body a stable base to hold a slight lean from. If you're seated, lean your hips slightly forward in the chair rather than sinking back into it, which keeps your spine long and stops your shoulders rounding forward.
Try this sequence between frames to reset tension:
- Inhale through the nose, hold for a second.
- Exhale slowly and let your shoulders drop as you do it.
- Roll your shoulders back once, then forward once, and settle in the middle.
- Reset your chin position and hold for the next frame.
Pro Tip: Practise the "drop shoulders" cue at home before your session. Stand in front of a mirror, deliberately raise your shoulders to your ears, then exhale and let them fall. Do it five times so the movement becomes automatic under pressure. On the day, your photographer will likely call this cue out between almost every frame, and having it wired in beforehand means you won't need to think about it.
How do you create a genuine expression instead of a forced smile?
Your eyes decide whether a headshot looks alive or looks like a photocopy. Aim for a soft, attentive gaze directly at the lens rather than a hard stare or a smile held so long it stops looking real. Expression and mood should be settled before you worry about technical posing at all, because a relaxed, honest expression communicates more confidence than a technically perfect pose with dead eyes.
Photographers use a few reliable techniques to get there. One is practising eye contact with the lens itself rather than the photographer's face, since looking at a person's eyes and looking at a lens barrel use slightly different muscles and habits. Another is the quick look-away and return: glance to the side, then bring your eyes back to the lens on a count, which resets a stare that's gone glassy. The most effective trick is specific memory prompts. Asking someone to think of "the tiniest private joke" produces a far more authentic smile than a vague instruction like "think of something happy", because specificity engages the actual muscles around the eyes, not just the mouth.
Different roles call for different expressions, and it's worth deciding in advance which one you want:
- Closed-mouth, composed: suits legal, finance, and governance headshots where quiet authority matters more than warmth.
- Warm, open smile: suits real estate, coaching, hospitality, and any personal branding work where approachability sells.
- Half-smile with active eyes: a middle ground that works for most corporate LinkedIn profiles.
Pro Tip: If your jaw feels tight in front of the camera, it usually shows up as a strained smile. Before the shot, open your mouth wide and stretch your jaw for a second, then relax it fully before your photographer calls "ready." Pair it with a slow exhale and the tension usually drops out of both your jaw and your eyes at the same time.
How does camera height and angle change your headshot?
Shooting from slightly above eye level, combined with the chin forward and slightly down adjustment, flatters most face shapes and is the default most professional photographers work from. Camera height isn't a minor technical detail. It changes the entire geometry of your face in ways posing alone can't fix.
A slightly elevated camera, angled down at the subject, tends to slim the jawline, soften the neck, and read as approachable. It's the angle behind most flattering phone selfies, for good reason. A camera at or below eye level does the opposite: it can broaden the jaw and lower face, but it also reads as more authoritative, which is occasionally the right call for a senior executive portrait where gravitas matters more than softness.
As the subject, you don't control the camera, but you do control where you look and how you hold your head relative to it. A few practical cues help:
- Follow the photographer's instructions on where exactly to point your eyes, sometimes it's the lens, sometimes a spot just above it.
- If you're told the camera is angled slightly down at you, resist the urge to tilt your whole head up to meet it, adjust your eyes instead and keep the chin position steady.
- For a tight crop (head and shoulders only), small chin and eye adjustments matter enormously because there's nowhere else for the viewer's attention to go.
- For a three-quarter crop (down to the waist), body angle and hand position start to matter as much as facial expression.
Don't overcorrect. Tilting your entire head up to chase a high camera angle usually looks stranger than trusting the small chin and eye adjustments to do the work.
What do you do with your hands in a headshot?
Hands should either sit out of frame entirely or be doing something specific, never floating awkwardly at the edge of the shot with nothing to do. Loose, purposeless hands are one of the fastest ways to make an otherwise good headshot look amateurish, because the eye is drawn to unresolved tension anywhere in the frame.
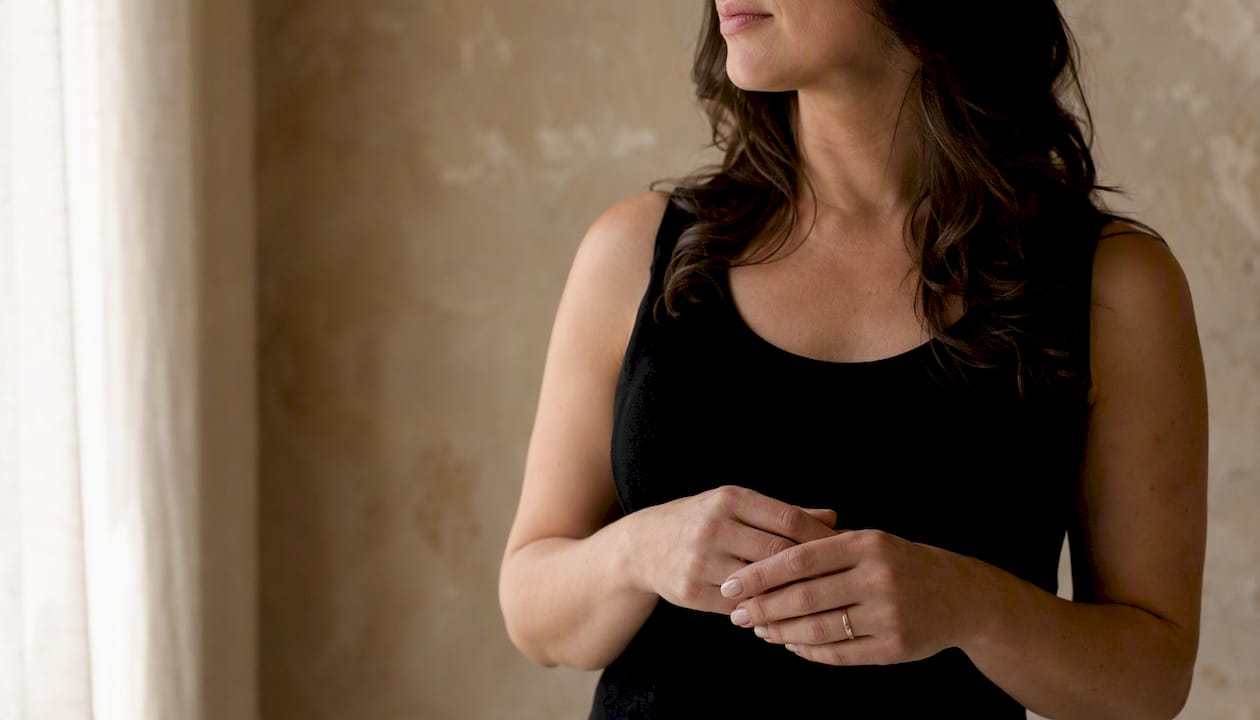
The standing mechanics that support good hand placement start lower down. Keep your weight on your back foot, this frees your front leg and hip to angle slightly, which creates a more dynamic silhouette than standing flat-footed and square. Add a subtle lean toward the camera from the ankles or hips, and rotate your shoulders a few degrees relative to your hips. That small rotation creates visual depth even in a fairly tight crop.
If your session includes a wider crop that shows your hands, three options work reliably:
- One hand in a pocket, thumb hooked outside rather than the whole hand disappearing, which reads as relaxed rather than stiff.
- Both hands loosely clasped in front of the body, low enough that they don't compete with the face.
- Arms lightly folded with a visible gap at the elbows, avoiding the closed-off look of a tight, defensive fold.
Pro Tip: Hands placed at chest height or higher pull focus away from your face because they sit close to the same visual plane as your eyes. If your photographer is shooting a tighter crop anyway, don't worry about your hands at all, they'll be cropped out. Ask before the session what crop is planned so you understand whether hand placement will matter for your shots.
Why do small movements between frames matter?
Tiny shifts between shots, a slight chin adjustment, a small shoulder change, a fresh breath, produce far better candid micro-expressions than holding one pose and waiting for the shutter. Stillness is the enemy of a natural headshot. The moment you lock into a pose and hold it, your expression starts to look manufactured, and it shows on screen even if you can't feel it happening.
A useful sequence to practise before your session: three small head tilts in slightly different directions, a full breath in and out, a subtle lean forward, and a small change to your mouth position, moving from neutral to a slight smile and back. None of these movements need to be dramatic. The goal is continuous, small motion rather than a series of frozen poses.
This is also where a good photographer earns their fee. Specific techniques, breathing cues, short verbal prompts, and deliberate movement between frames, reliably produce more authentic expressions than simply asking someone to relax, because "relax" gives a nervous subject nothing concrete to do. Rowan Freeman's approach at Life in Style Photography leans heavily on timing the shutter to these in-between moments rather than waiting for a subject to settle into a static pose, which is part of why the resulting images tend to look more like a candid moment than a studio setup.
Pro Tip: If you're practising alone with a phone camera, avoid the vague instruction to "just relax." Give yourself something specific instead: count a slow breath, think of one exact memory, or say a word silently that makes you smile without meaning to. Specific beats vague every time you're on either side of the lens.
What should you wear and how should you groom for a headshot?
Simple, well-fitting clothing in solid colours or subtle textures works better than anything busy, and moderate contrast against your background reads more professionally than blending in or clashing. Loud patterns, tight checks, and anything with a logo tend to pull attention away from your face, which defeats the purpose of the photo entirely.
Hair and grooming deserve a quick pass before the session rather than a full routine change. Check your hairline is tidy, control obvious flyaways, and where possible go for a matte finish rather than heavy shine, particularly under studio lighting where gloss reflects unpredictably. Facial hair should be neat and deliberate, whether that means freshly trimmed or evenly grown, rather than somewhere in between.
Makeup for a headshot generally sits slightly stronger than your everyday look but should still read as natural on camera, not performed. Avoid heavy shimmer or glitter, which photographs as unflattering flare under studio lights, and set your base with powder to control shine through a longer session. For men, a light mattifying product on the T-zone prevents the forehead and nose from picking up unwanted highlights.
A quick wardrobe checklist depending on the role you're shooting for:
- Corporate or finance: solid blazer, minimal jewellery, avoid stark white directly against pale backgrounds.
- Creative or personal branding: more colour and texture is fine, but keep it to one statement piece, not several.
- Casual or approachable roles: a well-fitted knit or shirt without a tie communicates warmth without looking underdressed.
What poses actually work? Eight to practise before your session
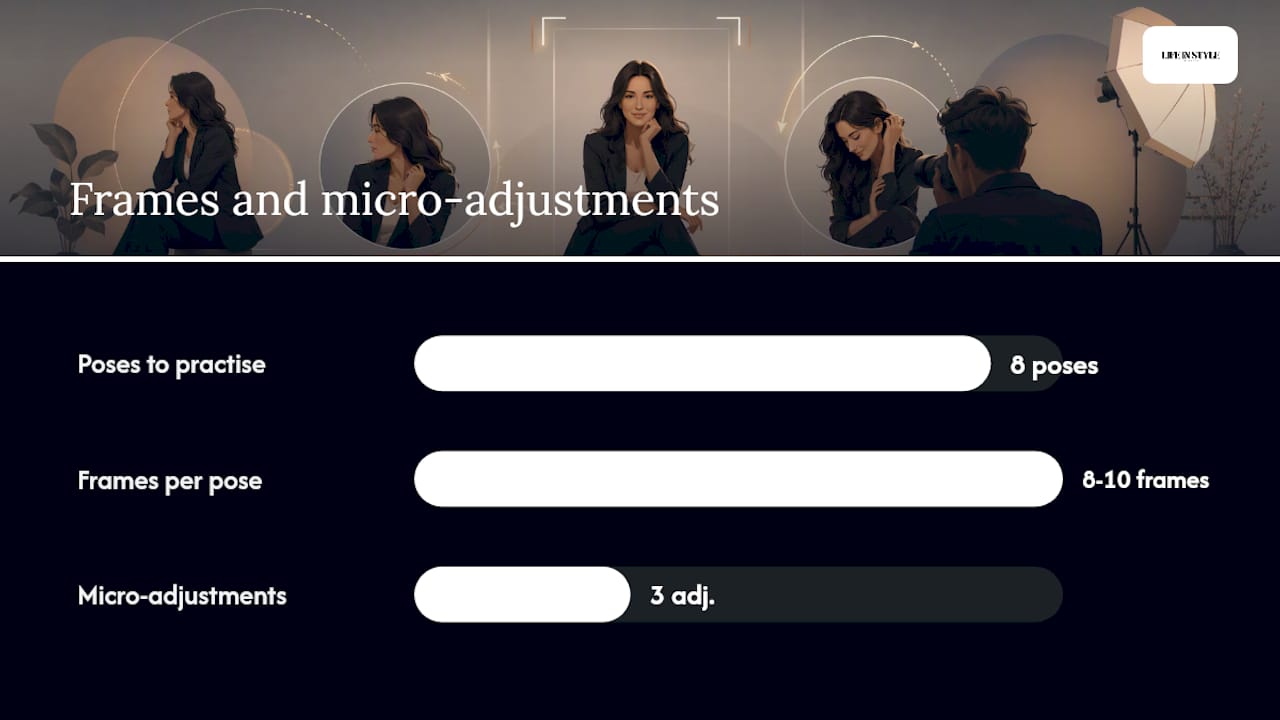
Shoot 8 to 10 frames of each pose, adjusting your chin, head tilt, and eyes slightly between shots rather than holding one exact position. This gives you and your photographer real options to choose from instead of one rigid attempt.
| Pose | Body angle | Chin | Eyes | Hands | Best for |
|---|---|---|---|---|---|
| Classic 3/4 angle | 30 to 45 degrees | Forward, then down | Soft gaze on lens | Out of frame or clasped | Most corporate and LinkedIn profiles |
| Power pose | 15 to 30 degrees | Forward, level | Direct, steady | One hand in pocket | Executive and leadership roles |
| Candid look | Mid-turn, caught in movement | Natural, mid-shift | Slightly off-lens, returning | Relaxed, mid-gesture | Personal branding, lifestyle |
| Soft half-smile | 30 degrees | Forward, slightly down | Warm, engaged | Loosely clasped | Consultants, coaches, hospitality |
| Seated lean-forward | Hips angled, shoulders square | Forward, level | Direct | Resting on knee or desk | Interview-style headshots |
| Arms-loose fold | 20 to 30 degrees | Forward, down | Relaxed, attentive | Folded with visible elbow gap | Creative professionals |
| Hand-to-chin considered | 30 degrees | Resting lightly, not pressing | Thoughtful, off-lens then back | One hand near jawline | Editorial and personal branding |
| Full-smile engaged | 30 to 45 degrees | Forward, slightly down | Bright, direct | Out of frame | Real estate, sales, approachable roles |
A few reminders while you're culling images afterwards:
- Look for the frame where your eyes look genuinely engaged, not just open.
- Check the jawline in each shot; the chin-forward adjustment should be visible even in subtle form.
- Discard anything where a held smile looks stretched rather than relaxed, viewers can spot the difference instantly.
Which posing mistakes ruin the most headshots?
A handful of recurring mistakes explain nearly every failed headshot, and each one has a single, quick fix. Learn these five and you'll avoid the vast majority of problems before your session even starts.
- Chin tucked back (don't) → push it forward, then down (do).
- Held smile for too long (don't) → use a specific micro-prompt instead of grinning and holding (do).
- Raised, tense shoulders (don't) → exhale deliberately and let them drop (do).
- Hands floating with nothing to do (don't) → give them a clear job, pocket, clasp, or crop them out entirely (do).
- Square shoulders facing the lens directly (don't) → rotate 15 to 30 degrees off-axis (do).
Keep this list short enough to remember in the ten minutes before your session starts. Most people don't need a longer list, they need to actually run through these five checks instead of hoping for the best.
How should you prepare in the days before your headshot session?
Good preparation reduces camera anxiety and speeds up the entire session, which means more usable frames in less time. Following a simple timeline in the 48 hours before your shoot makes a bigger difference than most people expect.
- 48 to 24 hours before: sleep properly, stay hydrated, and test your outfit choices in daylight rather than deciding the morning of.
- 2 to 3 hours before: eat something light, avoid anything heavy or salty that might cause bloating or sluggishness on camera.
- 30 to 10 minutes before: arrive early, drink water, and run through a short breathing warm up so you're not walking in cold.
What to bring along:
- Two or three wardrobe options so you and your photographer can choose on the day.
- A small grooming kit, comb, powder, lip balm, for quick touch-ups between setups.
- Glasses, if you wear them, plus a backup pair without lenses if glare is a concern.
- Reference images showing looks or tones you like, this saves a lot of back and forth once the camera's out.
- A short note on the tone you want, corporate, warm, editorial, so your photographer can direct accordingly.
Practical tips for reducing camera anxiety include arriving early, staying hydrated, and avoiding new makeup or an unfamiliar hairstyle on the day itself, since anything untested tends to show up as extra self-consciousness in front of the lens. Talk to your photographer beforehand about what you want and, just as importantly, what you'd rather avoid. A quick conversation about desired tone, or a specific pose you've seen and liked, saves far more time than trying to explain it mid-session. Life in Style Photography's own tips for looking your best on camera cover several of these warm-up routines in more depth if you want to practise further before booking.
What does a photographer actually say during a shoot?
Continuous, specific direction from your photographer is what produces authentic micro-expressions, not a single instruction to relax and smile. Knowing the real prompts in advance means you'll respond to them faster and more naturally on the day, rather than freezing while you try to work out what's being asked of you.
Common on-set prompts and what they're asking for:
- "Drop your shoulders." Called out repeatedly through a session, because shoulder tension creeps back in within seconds of you consciously relaxing it.
- "Chin down a hair." A tiny correction, often just a few millimetres, used to fine-tune the jawline once the bigger chin-forward adjustment is already in place.
- "Think of a tiny memory." A deliberately vague-sounding but actually specific prompt, designed to trigger a real reaction rather than a performed smile.
- "Breathe out for me." Timed right before the shutter, this is one of the most reliable ways to catch a relaxed expression rather than a held one.
The breathing cycle and frame cadence matter more than most subjects realise. A photographer working well will often fire several frames across a single breath and prompt cycle, in the roughly one second the subject exhales and briefly hasn't reset their pose, rather than waiting for stillness and firing once. This is precisely what produces the natural, in-between moments that look candid rather than posed. In one session, a client who'd been holding a stiff, camera-ready smile for several frames was simply asked to think of the worst pun they knew. The resulting laugh, caught half a second later as it faded into a genuine smile, became the final chosen image, not the technically "correct" pose that came before it.
Pro Tip: If your photographer gives you a prompt that feels silly, lean into it rather than resisting. The slightly awkward reaction to an odd prompt is usually exactly what produces a real, unguarded expression instead of a stiff one.
What do I actually look for in a great headshot?
I look for engaged eyes, a clear jawline, and relaxed shoulders. Everything else is detail. When those three things are right, the pose underneath barely matters, because the viewer's attention goes straight to the face and reads it as genuine.
What helps a subject get there faster than anything else is simple: arrive early rather than rushing in flustered, be willing to physically move when asked rather than staying locked into one comfortable position, and try the slightly strange micro-expression prompts even when they feel unnatural in the moment. The subjects who resist direction, who insist on their own idea of a "good angle" without trying what's suggested, are almost always the ones who end up disappointed with the results. The ones who trust the process, even when a prompt sounds odd, tend to walk away with images that actually look like them on a good day.
If you want to see what this looks like in practice rather than just reading about it, the headshot portfolio has a good spread of examples across different roles and tones, corporate, creative, personal branding, all shot using the same underlying mechanics covered in this guide.
Prefer to leave the posing to someone else?
Life in Style Photography exists for exactly the moment where reading a guide like this stops being enough and you'd rather have someone standing behind the camera calling out "drop your shoulders" in real time. Every pose adjustment covered above, chin, angle, hands, breathing, is something Rowan Freeman directs live during a session, so you're never left guessing whether you've got the three-quarter turn right.

A booked headshot session with Life in Style Photography in Auckland includes on-set direction through each of the poses and prompts covered in this guide, multiple setups so you're not relying on a single lucky frame, attention to lighting and background to complement your pose, and basic retouching on your final selects. If you're weighing this up against a DIY phone setup at home, the difference usually comes down to having someone else manage the technical side, camera height, lighting, framing, while you focus purely on the small posing adjustments that actually matter.
Have a look through the headshot photography services page for package details, or browse the headshot portfolio to see the kind of results these techniques produce in practice. A brief pre-shoot chat about the tone you're after, corporate, warm, editorial, before you book means your session starts with direction tailored to exactly what you need rather than a generic run-through.
Frequently asked questions about headshot posing
What's the single most important posing tip for a headshot? Push your chin forward slightly, then lower it a touch. This one adjustment does more to sharpen a jawline and remove shadow under the chin than any other single fix, and it works for nearly every face shape.
How should I stand for a headshot if I don't want to look stiff? Turn your body 30 to 45 degrees from the camera rather than facing it directly, keep your weight on your back foot, and add a small forward lean from the hips or ankles. Square, flat-footed stances almost always photograph as tense.
How do I smile naturally instead of looking forced? Avoid holding a smile and waiting for the shutter. Instead, use a specific memory or thought right before the frame, something genuinely funny or private rather than a vague instruction to "think happy." The specificity is what makes the eyes engage along with the mouth.
What should I do with my hands during a headshot? Give them a clear job: one hand in a pocket with the thumb out, both hands loosely clasped, or arms lightly folded with a visible gap. If your photographer is shooting a tight crop, don't worry about your hands at all since they'll likely be out of frame.
Do different roles need different poses? Yes. A narrower body turn (15 to 30 degrees) with a closed-mouth expression suits formal roles like law or finance, while a wider turn (30 to 45 degrees) with an open smile suits real estate, coaching, and personal branding work.
How many photos should I take per pose to get a good result? Aim for 8 to 10 frames per pose, making small adjustments to chin height, head tilt, and eye direction between each shot. The best frame is rarely the first one, it's usually somewhere in the middle once tension has eased.
Sources
The sources behind this guide come from working photographers writing about posing mechanics, on-set direction, and expression, not generic stock advice. Each one supports a specific claim made above.
- Best Professional Headshot Poses: 5 Modern Poses + Posing Fundamentals for 2026 | Scale Headshots
- How to Pose for a Professional Headshot When You Don't Pose for a Living
- # 5 Modern Professional Headshot Tips for Natural-Looking Business Portraits
- How to Look Natural and Confident in a Headshot | Photography Shark Studios
If you're building an online profile alongside your headshot, it's worth understanding how buyers and hiring managers audit a profile photo before they ever read the rest of your bio, since the two feed into each other far more than most people expect.
Recommended
- 5 Tips to Look Your Best in Professional Headshots - Auckland Portrait, Branding & Wedding Photographer | Life in Style Photography
- Professional Photography Blog - Auckland Portrait, Branding & Wedding Photographer | Life in Style Photography
- Headshot Photographer - Auckland Portrait, Branding & Wedding Photographer | Life in Style Photography