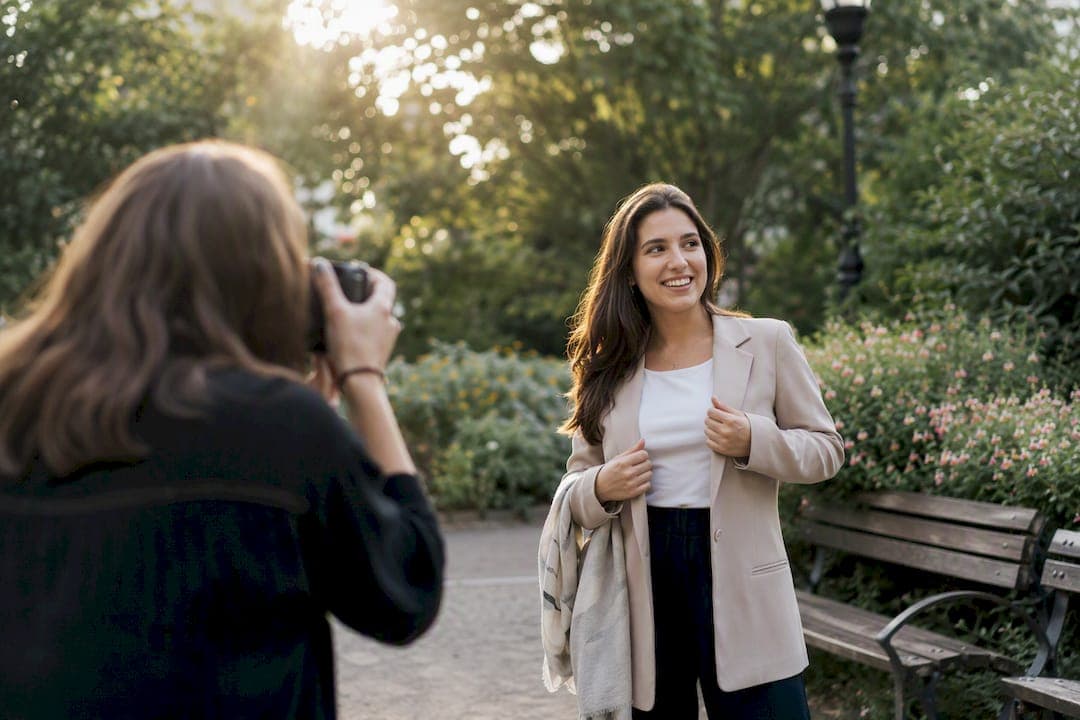
Your personal branding photos should do one job: build a planned image library that shows who you are, how you work, and where you show up online. Not a single polished headshot, but a set of images ready for your website, your LinkedIn profile, your socials, and the odd press request that lands in your inbox once your profile starts to grow.
The fastest way to get there:
- Collect 10 to 20 images that capture the look and feel you want (mood board).
- Book a 60-minute strategy call with a photographer to talk through your brand and how the images will be used.
- Draft a full shot list at least a week out from the shoot, so nothing gets improvised on the day.
Auckland has no shortage of talented photographers, and Life in style Photography works this exact way with local business owners, so their portfolio is a genuinely useful place to start gathering ideas.
Key Takeaways
Building a genuine personal branding image library beats chasing a single perfect headshot, because variety is what makes images usable across every platform you show up on.
| Point | Details |
|---|---|
| Plan before you shoot | Book a 60-minute strategy call, gather a mood board, and lock your shot list a week out. |
| Shoot for variety | Capture portraits, environmental shots, working shots, and detail frames in one session. |
| Match crops to platforms | Request vertical, square, and horizontal versions so images are ready for web, LinkedIn, and social. |
| Keep wardrobe simple | Stick to three outfits, solid colours, and props that reflect genuine credibility. |
| Fill gaps with DIY | Use simple phone setups between professional shoots, refreshed every 12 to 18 months. |
| Work with a local specialist | Life in style Photography builds full image libraries for Auckland clients, with a relaxed on-set style suited to camera-shy subjects. |
Table of Contents
- Personal branding photo ideas worth stealing
- How do you plan a personal branding shoot?
- Which shot types and crops actually get used?
- Wardrobe and props that keep your brand consistent
- DIY branding photos to fill the gaps between shoots
- Studio or on-location: which suits your brand?
- Why the "one perfect headshot" mindset is holding you back
- Book a session with Life in style Photography
- Sources
Personal branding photo ideas worth stealing
Every strong personal branding shot list is really a mix of purposes disguised as pretty pictures. Some images build trust fast (the portrait), some build context (the environment), and some build personality (the candid). Here's a working list, grouped by what each shot actually needs to do for you.
- Clean profile portrait, traditional crop. Head and shoulders, simple background, direct eye contact. This is your LinkedIn profile picture and your "about" page photo. Keep it timeless rather than trendy, because you'll use it for years.
- Clean profile portrait, tight crop. The same setup but cropped closer, for small avatar spaces like a Slack icon or a directory listing where detail gets lost at small sizes.
- Environmental portrait, workspace. You at your desk, in your studio, or at your storefront. This tells a viewer where you work and gives instant credibility, particularly useful for headshot photography briefs that need context beyond a plain backdrop.
- Environmental portrait, café or third space. A softer, more approachable version of the above. Good for founders and consultants who want to look accessible rather than corporate.
- Working shot, mid-task. Hands on keyboard, sketching, adjusting equipment, talking with a colleague. These convey competence because they show process, not just presence.
- Working shot, in motion. Walking through a space, gesturing while explaining something, caught mid-laugh during a genuine exchange. Movement reads as energy and approachability.
- Detail shot, tools of the trade. A close-up of your notebook, your laptop screen, your camera gear, whatever signals your craft. These fill gaps in a website layout beautifully.
- Negative-space frame. A wider shot with empty space to one side, deliberately left plain so a designer can drop text or a logo over it later. Every image library needs a handful of these.
- Horizontal banner composition. Shot wide, subject off-centre, built for a website hero image or a LinkedIn cover banner. These almost never get planned in advance, which is exactly why they're missing from most people's photo libraries.
- Behind-the-scenes candid. Unposed, mid-conversation, laughing at something off-camera. This is the image that humanises an otherwise polished set.
- The subtle-smile variation. A quieter, more thoughtful expression paired next to your main smiling portrait, giving you options depending on the tone of the platform or publication you're supplying it to.
- The prop-assisted shot. One item, used once, kept simple. A coffee cup, a set of keys, a single branded item. Avoid stacking props, because clutter competes with your face for attention.
Building a set like this across a single session is exactly the framing that a complete branding photography guide recommends, since planning platform-ready crops during the shoot means you never have to go back for images you forgot to capture.
Pro Tip: Ask your photographer to shoot at least three frames of each concept: one safe, one with a bigger expression, one candid outtake between poses. The outtake is often the one you actually use.
How do you plan a personal branding shoot?
A good shoot starts well before the camera comes out. Book a 60-minute strategy call first, where you and your photographer align on message, tone, and exactly how the images will be used. From there, gather your mood board of 10 to 20 reference images and lock your final shot list at least one week before the session, a timeline that keeps both of you working from the same brief instead of guessing on the day.
- Strategy call (60 minutes) to define message and use cases.
- Mood board collection (10 to 20 images) to set visual direction.
- Final shot list locked at least one week prior to the shoot.
Your pre-shoot checklist should cover:
- Two to three outfit options, ironed and ready the night before.
- Props confirmed and packed, nothing left to "grab on the day."
- Hair and makeup booked if you're using a professional.
- Any location permissions sorted in advance, especially for public or commercial spaces.
- A note of the exact crops you need (square, vertical, horizontal) for the platforms you use.
Most branding sessions run two to three hours and cover multiple outfit changes, delivering a broad set of final images rather than a handful of near-identical shots. Pricing varies by package and location, so treat any number you see online as a starting point and confirm current rates directly with your photographer.
Which shot types and crops actually get used?
Different platforms need different shapes, and the mistake most people make is shooting only the tight headshot crop and hoping it stretches to fit everywhere. It won't.
- Headshot crop: LinkedIn profile, email signature, author bio.
- Three-quarter shot: website "about" pages, speaker profiles, press kits.
- Full body: "meet the team" pages, event bios, personal Instagram grids.
- Wide banner: website hero sections, LinkedIn cover images.
Lighting sets the mood as much as the pose does. Studio softbox lighting gives you clean, even skin tones and a polished finish that suits corporate and finance profiles. Window light adds warmth and softness, well suited to coaches, creatives, and wellness practitioners. Golden hour, shot outdoors close to sunrise or sunset, gives a warm, atmospheric cast that works for lifestyle and personal brands built around approachability.
For expression, ask for a mix: a confident, closed-mouth look for authority, a genuine open smile for warmth, and a half-turn glance over the shoulder for relatability. Studio work benefits from starting with controlled portraits before adding location variety, since it gives you a clean baseline to compare everything else against.
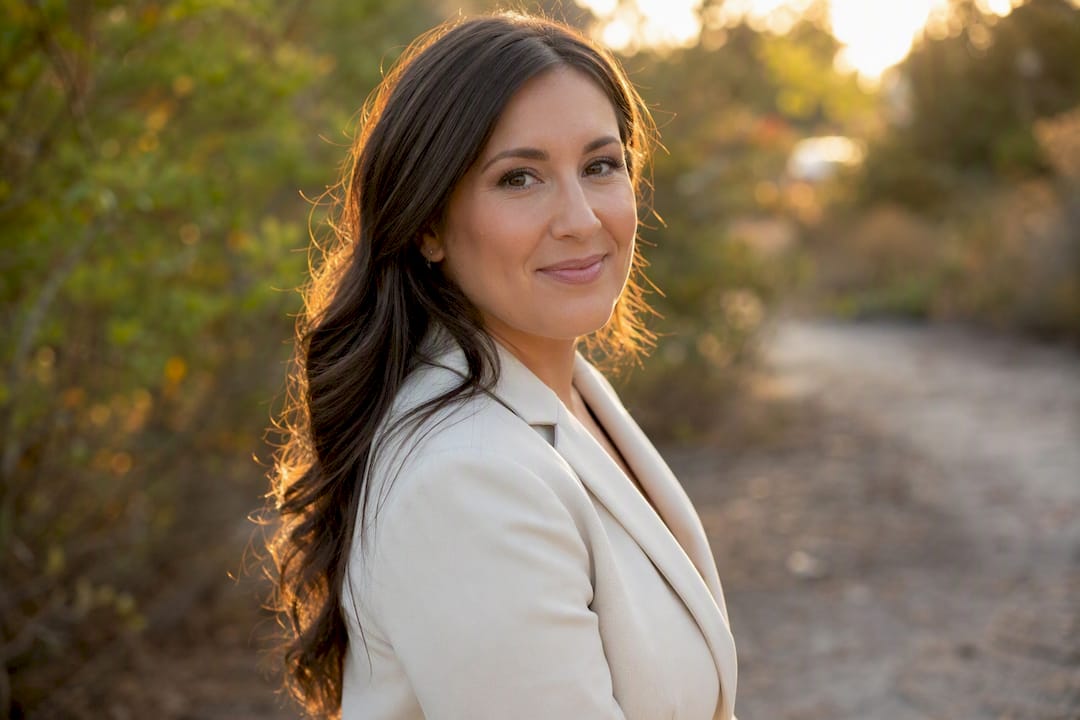
Pro Tip: Always ask for both a vertical and horizontal version of your favourite frame. A single crop looks fine on your website and terrible on Instagram Stories, or the other way round.
Wardrobe and props that keep your brand consistent
Stick to a few outfit options for a single session including a polished professional look, a smart-casual option, and one that reflects your personal signature, whether that's a bold colour or a favourite accessory.
- Choose solid colours and subtle textures over busy patterns, which distract on camera and date quickly.
- Skip large logos and text on clothing unless the brand itself is the point of the shoot.
- Props should signal genuine credibility, tools you actually use, a book you've written, materials tied to your work, not generic styling clutter.
- Coordinate your outfit colours loosely across the session (a shared palette of two or three tones) so every image in your library feels like part of the same set.
Wardrobe guidance from corporate headshot styling experts backs this up: simplicity photographs better than anything trend-driven, and it ages far better in a library you'll use for years.
DIY branding photos to fill the gaps between shoots
A professional shoot gives you the backbone of your image library, but your phone can carry you between sessions. Shoot near a window in soft natural light, prop the phone on a stack of books or a small tripod, and keep the background simple.
- The five-minute portrait: same spot, same light, once a fortnight, for a rotating supply of fresh headshots.
- The working-in-action strip: three or four quick shots of you mid-task, useful for social carousels.
- The detail frame: your notebook, your product, your desk setup, shot from directly above.
Keep your editing consistent with a single preset or filter that echoes the tone of your professional shoot, so the two don't clash side by side. Phone-based content between sessions works well as a stopgap, provided you treat professional photography as the main event, ideally refreshed every 12 to 18 months as your brand and appearance evolve.
Studio or on-location: which suits your brand?
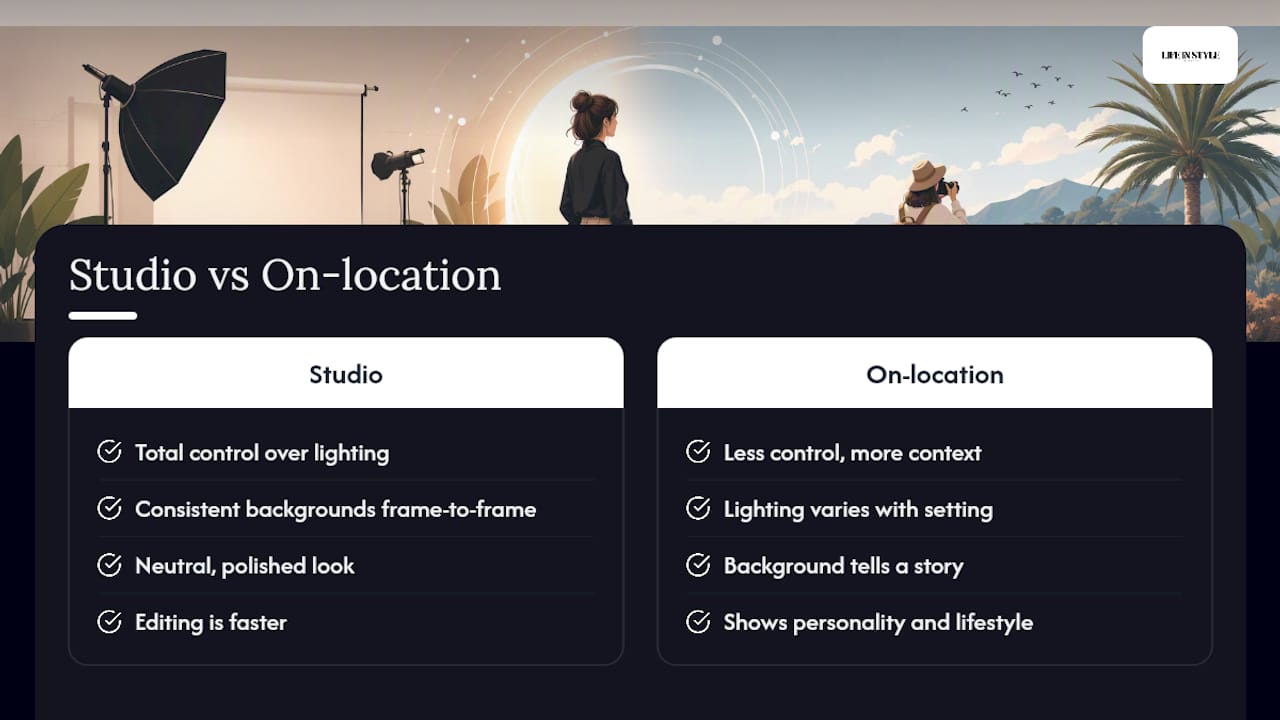
Studio sessions give you total control over lighting, background, and consistency from frame to frame. If your work is corporate, financial, legal, or anything where polish and neutrality matter more than personality, a studio setting is usually the safer default. It also makes editing faster, since a consistent backdrop and lighting setup means every image in your library sits together without visible seams.
On-location shoots trade some of that control for context. A café, a studio space you work from, a garden, a coastal spot around Auckland: these settings tell a story a plain backdrop can't. Coaches, creatives, hospitality owners, and anyone whose brand leans on personality rather than corporate polish tend to get more mileage from location work, because the setting itself becomes part of the story.
Most experienced photographers suggest not picking one over the other, but combining both in a single session. Start with 20 to 30 minutes of studio portraits to bank your clean, reliable headshots, then move to one or two location setups to round out your environmental and lifestyle images. That combination gives you the full spread your image library actually needs: something formal for LinkedIn, something warmer for your website, and something with real personality for social.
If you're deciding between the two for a first session, weigh how you're actually being found. If most enquiries come through LinkedIn or referrals, lean studio. If your brand lives on Instagram or your website tells a visual story, lean location, or better yet, book both in the same afternoon.
Why the "one perfect headshot" mindset is holding you back
Most advice on personal branding photography still treats it as a single-image problem: get the right headshot, sorted, done. That thinking is outdated, and it shows in how flat most professional profiles look once you scroll past the first photo.
The image-library approach asks a different question: not "which photo is the one," but "which twelve photos, together, tell people what it's like to work with me." That's a planning problem before it's a photography problem. It's why a shot list matters more than a mood board full of pretty inspiration, and why a 60-minute strategy call beats turning up on the day and hoping for the best.
Where conventional advice falls short is in treating variety as a nice-to-have rather than the actual point. A single great headshot photographs well and does nothing else. A dozen well-planned images, shot with intent, work across your website, your socials, and whatever opportunity turns up next month that you haven't thought of yet. Prioritise the plan before the pose. Everything else follows from that.
— Rowan Freeman
Book a session with Life in style Photography
Life in style Photography builds exactly the kind of image library this article describes, not a single stiff headshot, but a genuine set of portraits, environmental shots, and candid frames that capture how you actually work and who you are. Their relaxed, engaging on-set style is built for people who feel awkward in front of a camera, which is most of us, and it consistently produces natural, vibrant results rather than the stiff corporate look many people dread.

Enquiring is simple. You'll start with a short chat about your brand and how the images will be used, move into package options based on your session length and deliverables, and walk away with a shoot date and a clear shot list already sorted. Browse the Personal Branding Photography portfolio to see completed sessions and get a feel for the range of shots on offer, then check package options to see what fits your budget and timeline. Get in touch to lock in a date and start building an image library that actually works for you.
Sources
- Personal Branding Photography: Complete Planning Guide 2026
- Personal branding photography in Hawke's Bay — what you actually get