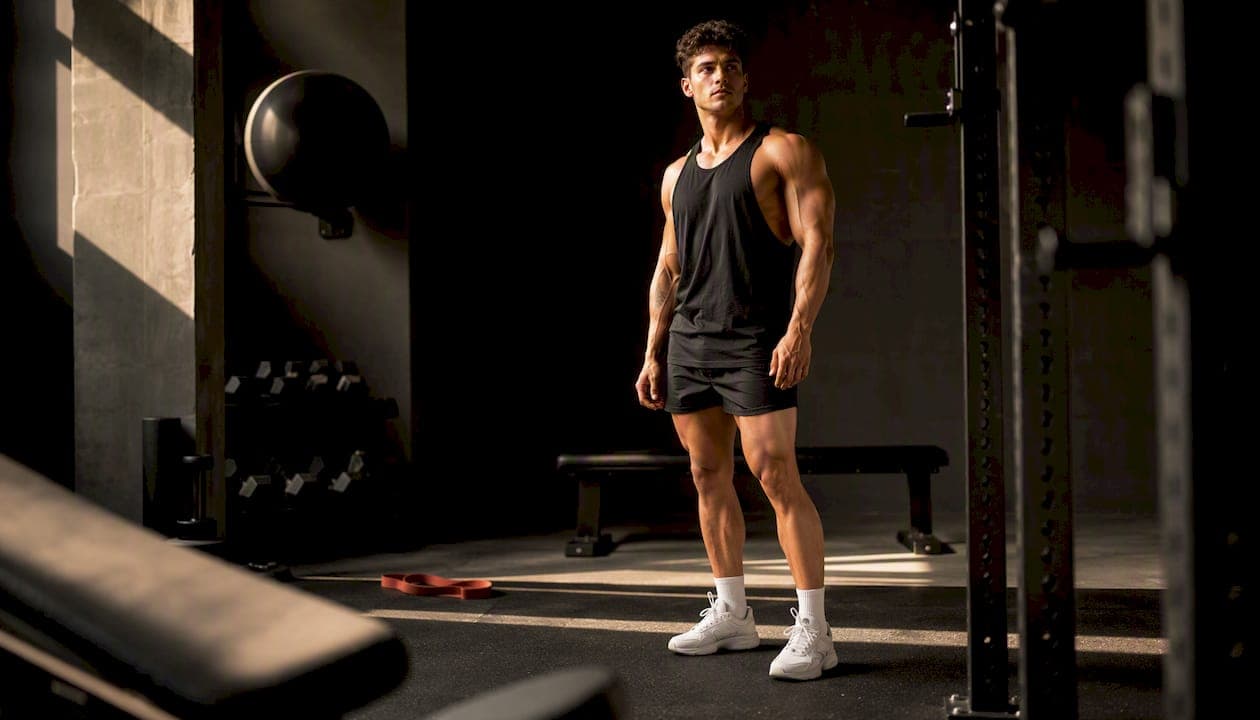
The best gym photoshoot poses fall into nine categories: standing, mirror, action or mid-rep, seated, back, arm-focused, cable, lifestyle and detail shots. Set your feet and legs first, then shape your torso and hands. On a professional shoot, subtle verbal cues such as a chin lift or a shoulder drop often improve the final image more than pre-rehearsed poses.
TL;DR:
- Most people should focus on building a library of reliable poses across nine categories rather than chasing a single perfect shot, starting with simple standing poses.
- Proper foot placement, camera angle, and lighting are crucial to enhance muscle definition and overall appearance in gym photos, with micro-adjustments often making the biggest difference.
- Wearing fitted, solid-colored sportswear and doing a short warm-up before the shoot improve fitness photo results by highlighting muscle tone and reducing glare.
- A variety of poses, including lifestyle, movement, and detail shots, create a more natural and engaging gallery compared to relying on one or two rigid poses.
- Practicing basic poses in front of a mirror and working with a professional photographer ensures micro-adjustments and shot quality, especially for beginners or camera-shy subjects.
Table of Contents
- Gym photoshoot poses: a category-by-category library
- How to shoot poses that look good: angles, light and small fixes
- Wardrobe, grooming and a pre-shoot checklist
- Working with a pro photographer: what a session actually looks like
- Posing tips for different body types and fitness levels
- Facial expressions and eye contact that add impact
- Common mistakes in gym photoshoot poses (and quick fixes)
- Photographer's perspective: why variety beats the perfect pose
- Ready to book your own fitness photoshoot?
- Sources
Gym photoshoot poses: a category-by-category library
Most people who want better fitness photos make the same mistake. They chase one perfect, iconic pose instead of building a small library of reliable ones. Photographers who shoot fitness work the opposite way: they start simple and let the session build in intensity. Standing poses, the front relaxed stance and the three-quarter turn, are the foundation most shoots are built from, largely because they work across almost every body type and confidence level, and photographers use them to warm a client up before anything more demanding comes into play, according to Christopher Bailey's fitness posing guide.
Here is a working breakdown of the nine pose categories worth knowing, whether you're planning a solo shoot with a friend behind the camera or briefing a professional.
- Standing poses. Start with feet shoulder-width apart, weight slightly favouring your back leg, and a soft bend in the front knee. From there, try a three-quarter turn (body angled forty five degrees to the camera, face turned back toward the lens) to slim the frame and add shape to the shoulders. A power stance, feet wider, chest lifted, arms slightly away from the torso, reads as confident without looking forced. Cross-arm variants (arms folded, one hand on a hip) give you a calmer, more approachable option for the same setup.
- Mirror and mirror-selfie shots. Angle your phone or camera slightly off-centre rather than shooting straight into the mirror; a dead-on angle flattens the shot and often catches unwanted reflection or glare. Hold the camera at chest height, angle it up slightly, and use a dumbbell or resistance band as a visual anchor in the lower third of the frame.
- Action and mid-rep poses. These are about timing, not holding. Photographers time the shutter for the peak of contraction, the top of a bicep curl, the highest point of a pull-up, rather than asking you to freeze mid-movement, which almost always looks stiff. If you're shooting solo with a timer or remote, do the rep at a controlled tempo and trigger the shutter fractionally before you expect to reach the top, Bailey's guide notes.
- Seated and bench poses. A seated row position, hands mid-pull, back straight, gives you a strong action alternative to standing shots. For a softer, editorial feel, sit on a bench between sets with elbows on knees and a relaxed, downward gaze, which reads as candid rather than performed.
- Back and lat poses. Turn side-on or three-quarter away from the camera, engage your lats slightly (think about spreading your shoulder blades without shrugging), and keep your heels grounded for a stable, elongated line. A lat pulldown machine is a useful prop here: gripping the bar overhead naturally widens the back and shoulders in frame, an effect Picture Perfect Studios points to as one of the more flattering setups for definition-focused shots.
- Arm-focused poses. For a clean bicep peak, tuck the elbow slightly toward the body and keep the wrist controlled rather than bent back. Shooting from a side angle, rather than straight on, does more to define shape than any amount of flexing effort, particularly with dumbbell curls or single-arm rows.
- Cable and machine poses. Cables give you tension and a natural reason to hold a position mid-movement, which helps if static poses feel awkward. A cable crossover, one arm extended, torso slightly rotated, adds visual flow that a plain standing pose can't.
- Lifestyle and movement shots. Walking between machines, adjusting a weight belt, wiping down a bench, these unposed-looking moments often become the most natural images in a gallery. They work best scattered through a session rather than attempted cold.
- Detail shots. Chalked hands on a barbell, laced-up training shoes, a sweat-marked towel, close-ups like these add texture to a gallery and give a photographer (or you) something to shoot during rest periods, when full-body poses are hard to sustain with any energy.
Pro Tip: Practise your top three base poses in front of a mirror before the shoot, but don't over-rehearse. The goal is muscle memory for the starting position, not a locked performance. A good photographer will find the micro-adjustments that make the pose work on the day.
How to shoot poses that look good: angles, light and small fixes
Everything starts with your base. Feet and leg placement set the angle of your hips, which sets the line of your spine, which changes how your shoulders and arms read in frame. Get the base wrong and no amount of arm positioning fixes it. This is why photographers almost always check foot placement before anything else, even before discussing the pose itself.
Camera height changes the story a photo tells:
- High camera angle (shooting down slightly) tends to slim the frame and works well for lifestyle or seated shots.
- Low camera angle (shooting up slightly) adds power and height, useful for standing and back poses where you want presence.
- Eye-level framing feels natural and direct, a safe default for most standing and mirror shots.
- Lens choice matters too. A slightly longer lens (around 50 to 85mm equivalent) compresses the background and flatters proportions better than a wide angle shot up close, which can distort limbs nearest the lens.
Lighting does as much work as posing. Hard side lighting carves out shadow along muscle lines and creates the dramatic, defined look common in physique photography, while soft, front-facing light flattens shadow and suits a more approachable, lifestyle feel, a contrast Picture Perfect Studios uses to explain why mood shifts so much between shoot styles. Backlighting, a rim of light along the shoulders and arms, separates a subject from a dark gym background and adds a subtle glow without overexposing skin tone.
None of this matters as much as the small verbal cues a photographer gives mid-shoot. Expect direction like "drop your chin slightly," "roll your shoulder back," or "relax that hand, don't clench it." These micro-adjustments, tiny shifts to chin position, shoulder tilt and hand tension, are often the actual difference between an average shot and a genuinely strong one, according to Bailey's posing guide. A few degrees of shoulder rotation or a slightly softened jawline can noticeably change how defined a muscle group appears in the final frame, even though the pose itself barely moved.
Wardrobe, grooming and a pre-shoot checklist
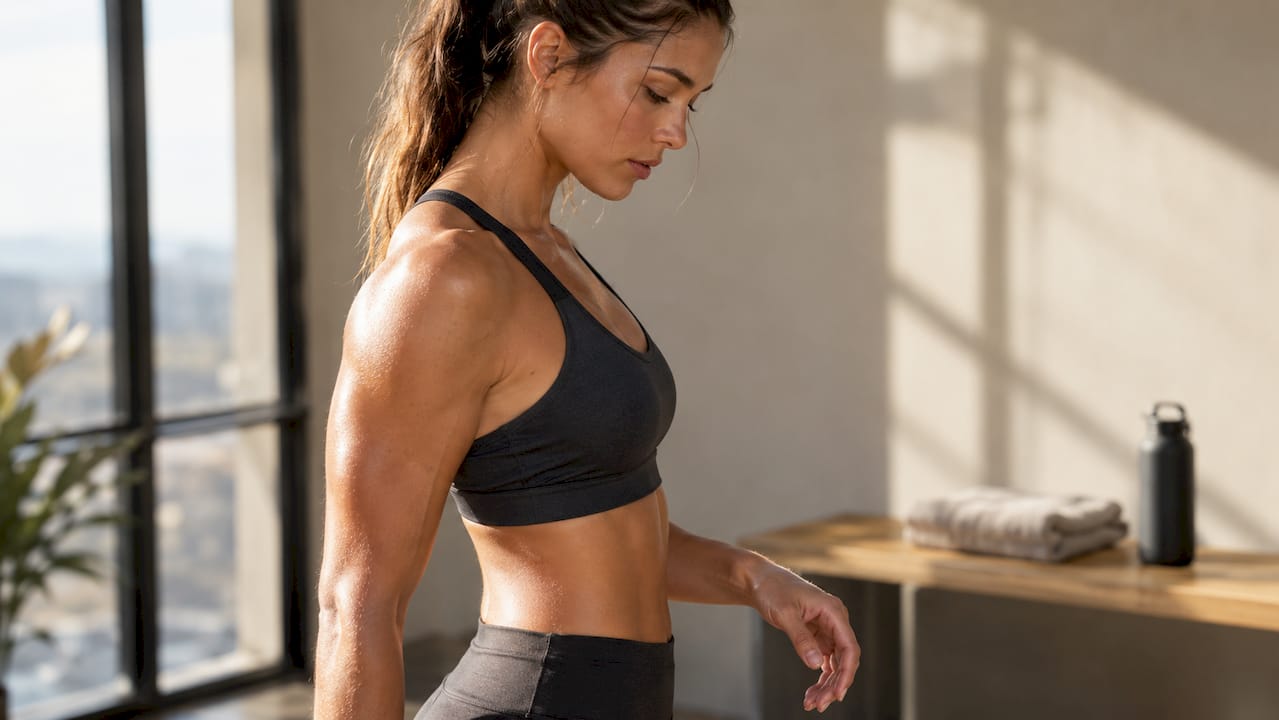
What you wear changes what the camera can actually show. Fitted technical fabrics (compression tops, tailored shorts, fitted leggings) reveal muscle definition and movement lines far better than baggy cotton, which hides shape under fabric folds. For lifestyle-style shots, looser layers, an unzipped hoodie, a loose singlet, soften the mood and suit candid, movement-based images.
Stick to solid colours or simple two-tone combinations. Busy patterns and logos pull the eye away from your physique and date a photo faster than almost anything else. Darker tones tend to slim and define, while lighter colours can wash out under harsh gym lighting.
A short pre-shoot routine makes a visible difference. Try this:
- Moisturise lightly the night before and morning of, dry skin catches light unevenly and looks dull in photos.
- Do a short warm-up (10 to 15 minutes) before shooting to bring blood into the muscles you want to look defined.
- A light pump, a few sets of bodyweight or light resistance work, adds visible fullness and vascularity without full fatigue.
- Avoid heavy shine by patting down with a translucent powder or a small towel between shots.
- Bring a written or mental shot list so nobody's guessing mid-session.
A ten-shot brief might run: three standing poses, two mid-rep action shots, one seated bench pose, one back pose, one arm-focused pose, one cable pose, and one detail close-up. A detailed shot brief template can save real time on the day, and reading through general preparation advice on wardrobe and warm-up beforehand means less guesswork once you're in front of the camera.
Working with a pro photographer: what a session actually looks like
A well-run fitness session at Life in Style Photography moves through stages rather than jumping straight to demanding poses. It typically opens with relaxed warm-up shots, simple standing poses that let you settle into the camera, before progressing to more intentional posing, then action shots, then detail captures toward the end when energy naturally starts to dip. This mirrors how experienced fitness photographers generally structure a shoot, building confidence before asking for anything technically demanding, as Maxwell Alexander's approach to bodybuilding photography describes.
On set, Rowan Freeman works through micro-adjustments in real time, a shoulder tilt here, a chin drop there, and stages equipment-based poses using whatever the gym or studio has on hand: benches, cables, a rig, dumbbells. You don't need to know the technical language for any of it. You just need to follow direction and trust that the small tweaks add up.
If you're considering booking a fitness session anywhere, these are worth asking upfront:
- What's the usage licence on the final images, personal use only, or commercial and social use too?
- How many final edited images are included in the package?
- What's the expected turnaround time from shoot to delivery?
- What level of retouching is included, skin smoothing, colour grading, or more involved edits?
Browsing a photographer's portfolio before booking gives you a realistic sense of style and consistency, which matters more than any single sample image.
Posing tips for different body types and fitness levels
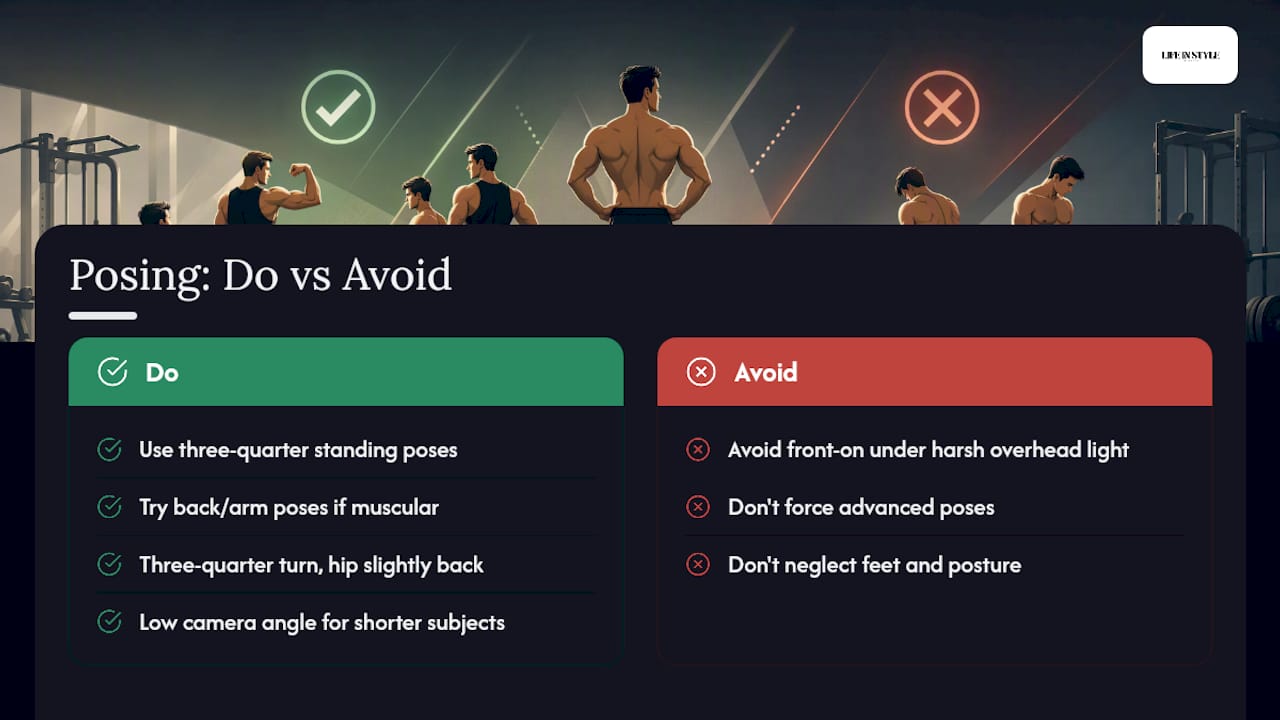
There's no single pose that flatters everyone, and that's the point. Someone earlier in their training might feel most confident in a three-quarter standing pose that shows overall shape and posture rather than isolated muscle definition. Someone with more developed muscle mass might get more from back poses and arm-focused shots that highlight separation and width.
If you carry more weight through the midsection, avoid direct front-on poses under harsh overhead light, they tend to flatten the torso. A three-quarter turn with one hip slightly back does more to create shape and shadow. Taller, leaner frames often photograph well with wider stances and cross-arm poses, which add visual width the body doesn't naturally carry. Shorter frames can benefit from a low camera angle, shooting slightly upward adds height and presence without needing to change the pose itself.
Fitness level matters just as much as body shape. If you're newer to training, lean into standing and lifestyle poses rather than forcing an advanced physique pose your body isn't ready to hold comfortably, comfort reads through the camera more than people expect. More experienced lifters can push into classic bodybuilding poses, like a front double bicep, with more control and less strain. Whatever your starting point, the same base first rule applies: get feet and posture right before worrying about arms or expression.
Facial expressions and eye contact that add impact
A strong pose with a tense, uncertain expression rarely works. The face carries as much visual weight as the pose itself, sometimes more, since it's the first place a viewer's eye lands.
Direct eye contact with the lens creates connection and confidence, useful for standing poses and personal branding style shots where you want the viewer to feel addressed. Looking slightly off-camera, toward a point just past the lens, softens the intensity and suits action or candid lifestyle shots where a stare would feel too posed.
Avoid the two extremes that trip most people up: a forced, wide smile that reads as fake, and a completely blank, effortful expression that looks like strain rather than focus. A relaxed jaw, slightly parted lips and a soft squint (rather than wide, startled eyes) reads as calm and capable. For high-intensity action shots, a slight furrow or focused gaze during the peak of a lift tends to look authentic rather than performed, because it usually is.
Common mistakes in gym photoshoot poses (and quick fixes)
Most posing problems trace back to a handful of repeat issues, and nearly all of them are fixable in seconds once you know what to look for.
- Tense hands. Clenched fists or oddly splayed fingers draw the eye away from the pose. Keep hands relaxed or lightly gripping a prop.
- Ignoring the base. Poor foot placement throws off the whole pose, no amount of upper-body adjustment fixes a bad stance.
- Holding one pose too rigidly. A locked, unmoving pose looks stiff on camera. Small shifts in weight between shots keep images feeling natural.
- Flat, front-on lighting with no shadow. This washes out muscle definition entirely, hence the value of side or backlighting discussed earlier.
- Overdoing the flex. Maximum tension for every single shot reads as strain, not strength. Save full intensity for two or three key frames.
- Skipping variety. Relying on one or two poses for an entire shoot produces a flat, repetitive gallery, mixing categories matters more than perfecting any single pose.
Photographer's perspective: why variety beats the perfect pose
The biggest gap I see between amateur and professional galleries isn't skill, it's variety. Photographers who mix posed shots with candid movement and close-up detail work consistently produce stronger, more usable final galleries than those chasing one flawless bodybuilding pose. Trying three or four variants of a standing pose, rather than forcing one perfect version, gives you more usable frames and takes pressure off getting it "right" the first time.
If you're camera-shy, the fix is almost always the same simple ritual: start with the easiest pose in the room, a relaxed standing shot, and let confidence build from there. Nobody nails the hardest pose first. Nobody needs to.
— Rowan Freeman
Ready to book your own fitness photoshoot?
Professional photography services can turn everything covered above into an actual session, so you're not left guessing about angles or holding a pose you've never tried before while a friend fumbles with a phone camera. A typical fitness session covers standing, action, back, arm and detail shots in one sitting, guided in real time so you never have to figure out the technical side yourself.

To prepare, bring a rough idea of the images you want (a written brief helps, even a short one) and a couple of outfit options that suit both intense and relaxed shots. Clients typically receive a set of edited images covering a range of poses, including standing shots, dynamic action frames, and detail captures. If you're in Auckland and want a session that fits your training goals and comfort level, visit the Fitness Photography services page to see package options and get in touch for a quote.