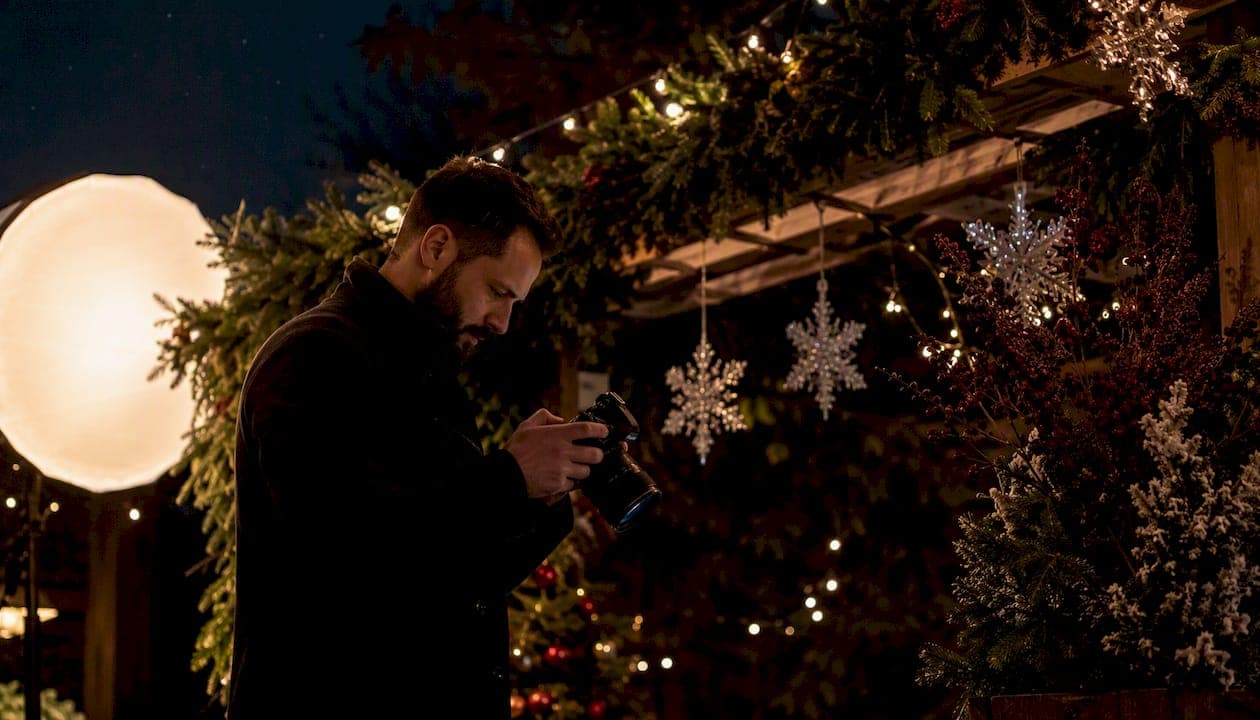
The best way to get memorable Christmas party photos is to combine three things: a purpose-built photo station, simple lighting, and a frictionless way for guests to share what they capture. Get those three right and the gallery looks after itself.
The quickest ideas to run tonight:
- Open-air photobooth with a festive backdrop and a ring light
- Roaming photographer (or a confident guest with a mirrorless camera) working the room
- Green-screen station with a projected Christmas scene
- Instant-print station so guests leave with a physical keepsake
- Photo scavenger hunt with a QR code upload point
- Live slideshow fed by guest uploads, displayed on a venue screen
- Selfie pod on a tripod with a remote shutter trigger
- Cocktail bar portrait corner lit by fairy lights and a single softbox
Quick verdict: hire a professional photographer when the event has more than 50 guests, a branding or marketing purpose, or a tight same-day delivery requirement. For smaller, low-stakes gatherings, a well-planned DIY setup works well.
Key takeaways
A well-planned photo station, simple directional lighting, and a frictionless QR code upload system are the three elements that consistently produce a Christmas party gallery worth keeping.
| Point | Details |
|---|---|
| One strong station beats many weak ones | Choose one well-lit, well-staffed station rather than spreading budget across five mediocre setups. |
| Light is the first fix | Move subjects closer to a soft light source before adjusting any camera setting. |
| Make sharing frictionless | Place QR codes on every table and at the bar so guests upload without being asked. |
| Brief your photographer in writing | A one-page brief with a shot list and delivery expectations prevents the most common gallery disappointments. |
| Life in Style Photography for Auckland events | Professional event coverage with same-day social selects and multi-format delivery for parties of any size. |
Table of Contents
- 20 Christmas party photography ideas to try this season
- Props, colours and what to wear for photos that pop
- Simple lighting and camera tips for DSLR and smartphone
- Composition, posing and capturing candid moments
- Photo games and scavenger-hunt prompts that get guests involved
- DIY phone-friendly setups you can build quickly
- A one-page brief and checklist to hand to your photographer
- Timing, staffing and simple budget guidance
- Professional Christmas party photography from Life in Style Photography
- Sources
20 Christmas party photography ideas to try this season
Below are 20 distinct setups, from simple phone-friendly stations to full production rigs. Each note covers space needs, staffing, and who it suits best.
-
Open-air photobooth. A backdrop stand, a printed festive flat, and a ring light. Needs roughly 2m x 2m of floor space and works for any party size. No attendant required if you use a self-timer app, though one helper speeds things up considerably.
-
Enclosed photobooth. A curtained pod with built-in lighting and a touchscreen. Throughput runs at roughly 30–45 sessions per hour, making it well suited to corporate events of 80 or more guests. Needs a power outlet and a 2m x 2m footprint.
-
Selfie pod on a tripod. A phone or mirrorless camera on a tall tripod with a Bluetooth remote shutter. Costs almost nothing to set up and works in tight spaces. Ideal for small office parties where a full booth is impractical.
-
Roaming boomerang station. A second phone or tablet running a boomerang-style app, carried by a designated guest or assistant. No fixed space needed. Produces short looping clips guests can share immediately.
-
Green-screen station. A chroma-key green backdrop lets you swap backgrounds digitally to any Christmas scene — snowy mountains, a fireplace, the North Pole. Needs consistent, even lighting on the backdrop and a laptop or tablet running compositing software. Best for tech-comfortable crowds.
-
Instant-print station. A compact photo printer (Fujifilm Instax or Canon Selphy) paired with a phone or camera. Guests leave with a physical print, which doubles as a party favour. Works for any size group; budget for enough paper and ink cartridges.
-
Branded template printouts. Use a photobooth app that overlays a company logo, event name, or festive border onto every print. Particularly useful for corporate Christmas parties where images will appear on internal comms or social media.
-
Christmas tree backdrop. A real or artificial tree dressed with warm fairy lights makes an instant, no-cost backdrop. Position guests slightly in front of the tree so the lights blur into bokeh behind them. Works best with a wide-aperture lens or portrait mode on a phone.
-
Wreath wall. A grid of wreaths, pinecones, and ribbon on a plain wall creates a textured, photogenic background. Low cost, easy to assemble, and suits both formal and casual parties.
-
Cosy lounge corner. Arrange a small sofa, a faux-fur throw, and a side table with candles or fairy lights. This atmospheric corner produces natural, relaxed portraits without any formal posing. Suits family Christmas parties and smaller gatherings.
-
Gift-exchange photo moment. Station a photographer or a phone on a tripod at the gift-exchange table and capture reactions as guests open presents. Pure candid gold, and it requires no extra setup beyond what the event already has.
-
Cocktail bar portrait corner. Position a softbox or a string of Edison bulbs behind the bar and invite guests to pose with their drinks. The warm light is naturally flattering and the setting feels relaxed. A bartender who knows to prompt guests helps enormously.
-
Outdoor evening station. For venues with a garden or terrace, a portable LED panel and a simple backdrop create a striking outdoor portrait station. String lights overhead add atmosphere. Works well in the early evening before it gets too cold.
-
Roaming photographer coverage. A photographer (professional or a skilled guest) moving through the room captures candid moments that no fixed station can. This is the single highest-value addition to any party above 30 guests.
-
Mirror photobooth. A full-length magic mirror with a touchscreen interface guides guests through poses and prints on the spot. Produces a premium experience and suits upscale corporate events or gala dinners.
-
Slow-motion video station. A phone or camera capable of 120fps or higher, mounted on a tripod, captures slow-motion clips of guests pulling crackers, popping confetti, or dancing. Short, shareable, and genuinely fun.
-
Polaroid roaming station. A staff member or volunteer carries a Polaroid camera and hands prints directly to guests. Low-tech, tactile, and produces an immediate emotional response. Budget roughly one film pack per 10 guests.
-
Themed character backdrop. Commission or hire a printed backdrop featuring a Christmas scene with cut-out face holes (a "face-in-hole" board). Universally popular, requires no photography skill, and works for all ages.
-
Drone or elevated shot. For outdoor events or venues with high ceilings, a drone or a camera on a monopod extended overhead captures a wide group shot that a standard camera cannot. Check venue rules and local regulations before flying.
-
Photo-moment MC announcement. Not a physical station, but arguably the most effective tool on this list. An MC or DJ who announces "everyone to the photobooth in five minutes" keeps traffic steady and prevents the bottleneck that kills booth throughput.
Pro Tip: Sequence your stations so the highest-traffic one (usually the enclosed booth or instant-print station) opens 30 minutes after guests arrive, once the room has warmed up. Opening too early means a queue before people are relaxed; opening too late means a rush at the end of the night.
Props, colours and what to wear for photos that pop
Props and outfits have a bigger impact on photo quality than most hosts realise. A few deliberate choices before the event saves a lot of editing time afterward.
Prop selection:
- Choose five to eight props maximum. More than that creates visual clutter and guests stop using them.
- Avoid branded props (competitor logos, political slogans) at corporate events.
- For food-heavy events, skip tissue-paper or fabric props near the catering table. Opt for rigid acrylic or wooden props that wipe clean.
- Festive standbys that photograph well: oversized baubles, tinsel boas, Santa hats, antler headbands, and chalkboard signs with Christmas phrases.
- Avoid props with small text or fine detail. They read as noise in photos, especially on phone screens.
Colour advice:
Rich, saturated colours photograph well under mixed party lighting: deep red, forest green, navy, and burgundy. Metallics (gold, silver, copper) catch the light beautifully but can cause harsh reflections if the flash is direct. Avoid neon colours under warm tungsten or Edison-bulb lighting — they shift to an unflattering orange cast.
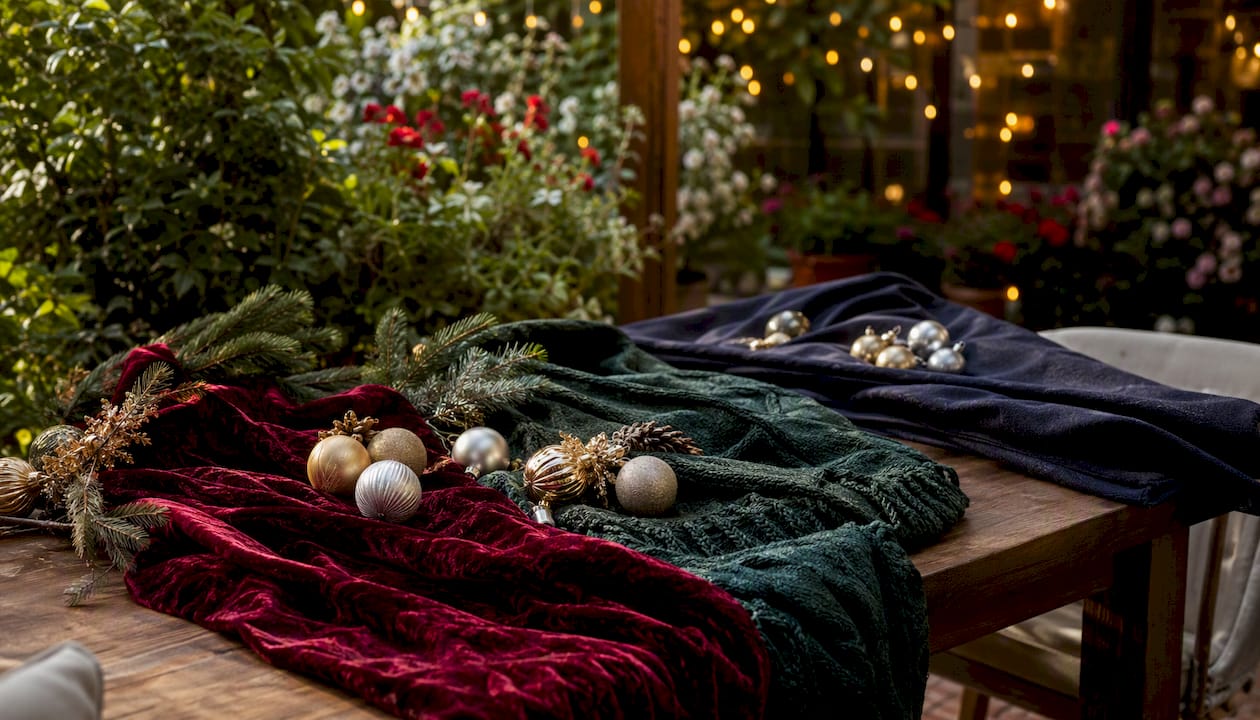
For group photos, a loose colour palette (two or three complementary tones) creates cohesion without looking staged. Advise guests in the event invitation: "wear something festive in red, green, or gold" and the group shots will look intentional rather than accidental.
Outfit dos and don'ts for guests:
- Avoid small, busy patterns (fine stripes, houndstooth, tight checks). They create a moiré effect on camera.
- Avoid highly reflective fabrics (sequins covering the entire garment, patent leather) near direct flash.
- Avoid visible brand logos on clothing if photos will be used for marketing purposes.
- Do wear block colours, velvet, linen, or textured knits. They photograph warmly and hold detail well.
- Do layer — a blazer over a festive shirt reads as polished without being overdressed.
Accessibility note: when setting out props, place them at a height accessible to seated guests and those using mobility aids. Avoid props that require two hands if some guests may have limited mobility. A simple note on the prop table ("grab whatever feels fun") removes the pressure of performance for guests who feel self-conscious.
Pro Tip: Print a small "photo-ready" card for each table with two sentences of outfit and prop guidance. Guests who know what to expect arrive more prepared, and the photos show it.
Simple lighting and camera tips for DSLR and smartphone
Three fixes make the biggest immediate difference: move guests closer to the nearest light source, use soft directional light rather than direct flash, and keep the background darker than the subject. Everything else is refinement.
Phone tips:
- Tap the screen to focus on your subject's face, then hold to lock exposure before shooting.
- Use portrait mode to blur the background, but only when you are 1–1.5 metres from the subject. Portrait mode struggles at distance.
- Avoid the built-in flash. It flattens faces and creates harsh shadows. A small clip-on LED panel or a ring light is a far better option.
- Clean the lens before every session. A smudged phone lens is the single most common cause of soft, hazy party photos.
DSLR and mirrorless tips:
- Shoot at a wide aperture (f/1.8–f/2.8) to let in more light and separate subjects from the background.
- Set ISO between 800 and 3200 for typical indoor party lighting. Modern sensors handle this range cleanly.
- Bounce your flash off a white ceiling rather than firing it directly at subjects. Bounced flash mimics soft, natural light and is far more flattering.
- Use a fast prime lens (35mm or 50mm) rather than a zoom for low-light work. Prime lenses are sharper and faster at the same price point.
Camera settings quick guide:
These are starting points, not fixed rules. Adjust based on your specific venue and light sources.
Pro Tip: Set your white balance manually to "tungsten" or "warm white" when shooting under Edison bulbs or fairy lights. Auto white balance often overcorrects and strips the warmth that makes festive photos feel festive. If you shoot RAW, you can correct it in post, but getting it right in-camera saves time.
Composition, posing and capturing candid moments
Create movement or interaction and the photo feels alive. That single principle covers most of what separates a memorable party photo from a stiff line-up.
Simple poses for groups, pairs and individuals:
- Groups of three or more: stagger heights (some seated, some standing, some leaning) and angle bodies slightly inward rather than facing the camera dead-on.
- Pairs: have subjects turn toward each other slightly, with one person slightly in front. This creates depth and feels more natural than two people standing side by side.
- Individuals: ask the subject to look just past the camera rather than directly into the lens. It reads as confident rather than posed.
- For large groups (10 or more), use a slight elevation for the photographer (a chair or a step) to see all faces clearly.
Quick composition rules:
- Rule of thirds: place the main subject slightly off-centre, not dead in the middle of the frame.
- Headroom: leave a small gap between the top of the frame and the subject's head. Cropping into the top of the head reads as accidental.
- Lead lines: use the venue's architecture (a hallway, a table edge, a string of lights) to draw the eye toward the subject.
Prompts that break the stiff "grip-and-grin":
Rather than saying "smile," try these fast prompts:
- "Whisper something funny to the person next to you."
- "Everyone look at the person on your left."
- "Pretend you just won the office Secret Santa."
- "Give the person next to you a high five."
Each prompt produces a genuine reaction in under three seconds. The resulting photo looks candid even though it was directed.
For true candids, position yourself near the bar or the dance floor and shoot from a slight distance with a longer focal length (85mm or the telephoto end of a phone). Guests who don't notice the camera behave naturally.
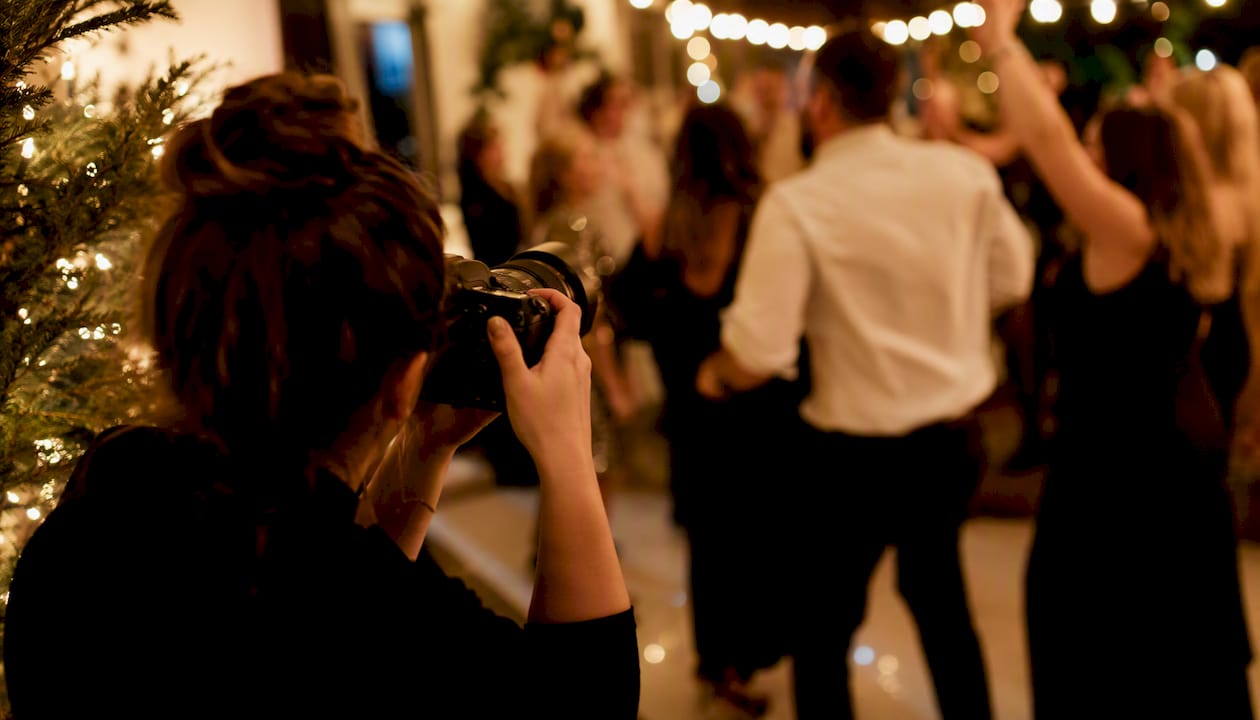
Photo games and scavenger-hunt prompts that get guests involved
Simple, short prompts paired with a central upload flow produce high participation. QR code uploads to a shared Google Drive remove the friction of chasing photos after the event and feed a live slideshow in real time.
How to run a photo scavenger hunt:
- Prepare 10–15 prompts and print them on cards or display them on a screen at the start of the event.
- Place a QR code on every table and at the bar so guests can upload directly to a shared gallery. Scanning a QR code to upload photos takes seconds and removes the need to collect phones manually.
- Explain the rules in 60 seconds: take a photo matching each prompt, upload it via the QR code, and the guest with the most uploads by a set time wins.
- Set a clear end time (usually 30–45 minutes before the event closes) and announce it at the start.
- Display uploads on a live slideshow so guests see their photos appear in real time. This creates momentum and encourages participation from guests who were hesitant at the start.
- Announce the winner publicly and award a simple prize (a gift card, a bottle of wine, a Christmas hamper).
Scavenger hunt prompts that work for Christmas parties:
The most effective prompts mix solo, pair and group challenges and require no special equipment. Try these:
- Ugly sweater champion
- Best Santa impression
- Tree treasure (something hidden near the Christmas tree)
- Dance floor energy
- The most festive table decoration
- Two people sharing a Christmas cracker
- Someone caught mid-laugh
- Best group selfie
- The longest tinsel
- A secret handshake with a new colleague
- Someone wearing the most baubles
- Best "surprised by a gift" face
- The cosiest corner of the venue
- A photo with someone you haven't met before tonight
- The most creative use of a prop
Logistics:
- Use Google Drive, Dropbox, or a dedicated event photo app for uploads. Display the QR code prominently at the entrance, on tables, and near the bar.
- Prize ideas: a gift card, a Christmas hamper, or a framed print of the winning photo.
- Timing: launch the hunt 20 minutes after guests arrive, once the room has energy.
Pro Tip: Pair the scavenger hunt with a live slideshow on a venue screen. As uploads come in, guests see their photos appear publicly, which creates a feedback loop that drives more participation. An MC calling out funny uploads keeps the energy high.
DIY phone-friendly setups you can build quickly
Three quick builds cover most situations: a selfie pod, a fairy-light backdrop, and a cocktail portrait corner. Each needs minimal kit and can be assembled in under 30 minutes.
Setup 1: Selfie pod
- Materials: a phone tripod, a Bluetooth remote shutter, and a small LED ring light.
- Construction: set the tripod at chest height, attach the ring light to the tripod arm, and pair the remote shutter to the phone.
- Lighting hack: position the ring light slightly above and in front of the subject's face for even, flattering illumination.
Setup 2: Fairy-light backdrop
- Materials: two lengths of fairy lights (warm white, 5m each), a curtain rod or tension rod, and a plain wall or dark fabric backdrop.
- Construction: drape the fairy lights vertically from the rod in overlapping strands. Place subjects 1m in front of the backdrop so the lights blur into bokeh.
- Lighting hack: add a small LED panel or a desk lamp facing the subject from the side to separate them from the background.
Setup 3: Cocktail portrait corner
- Materials: a bar stool or a small sofa, a string of Edison bulbs overhead, and a simple dark or neutral backdrop.
- Construction: position the seating under the Edison bulbs and hang the backdrop 1m behind. The warm overhead light creates a natural, editorial look.
- Lighting hack: place a white foam board or a reflector opposite the main light source to bounce light back onto the subject's face and reduce shadows.
Guest checklist for better phone photos:
- Clean the lens before every shot.
- Tap to focus on the subject's face.
- Hold the phone with both hands or brace against a surface.
- Use portrait mode at 1–1.5m distance.
- Avoid zooming digitally. Move closer instead.
- Check the background before shooting. Remove clutter or reposition.
Pro Tip: A $20–$30 phone tripod with a Bluetooth remote shutter is the single best investment for a DIY photo station. It lets the host appear in photos without asking someone else to hold the phone, and the remote trigger eliminates camera shake.
A one-page brief and checklist to hand to your photographer
Give your photographer a one-page brief covering goals, must-have people, and delivery expectations. A strong event photography checklist includes pre-event goals, key people, branding shots, venue context, candid moments, and a defined delivery timeline. Galleries that lack these priorities consistently disappoint.
Deliverables checklist:
- Minimum number of edited images (agree this in writing before the event)
- File formats required (high-res JPEG for print, web-optimised for social)
- Same-day social selects (typically 10–20 images delivered within a few hours of the event)
- Image rights and usage (confirm whether the photographer retains any licensing rights)
- Backup workflow (ask how images are backed up on the day)
Shot-list template:
| Category | Specific shots needed |
|---|---|
| Venue and branding | Wide establishing shots, signage, branded materials |
| Arrivals | Guests arriving, greeting, name badges |
| Candid networking | Conversations, laughter, group interactions |
| Group photos | Full team, department groups, leadership team |
| Speeches and presentations | Speaker at podium, audience reactions |
| Photo station coverage | Booth activity, prop use, guest interactions |
| Award or recognition moments | Recipient reactions, handshakes, trophy close-ups |
| Detail shots | Table settings, decorations, food and drinks |
Questions to ask before booking:
- What is your standard turnaround for edited galleries?
- What camera bodies and lenses will you bring?
- Do you carry backup equipment?
- Are you insured for public liability?
- Will you bring an assistant for larger events?
- Can you deliver same-day social selects?
- How do you handle low-light venues?
Matching the photographer's natural style to your intended marketing channels matters more than most organisers realise. A photographer whose portfolio is full of documentary-style candids will struggle with a brief that calls for polished branded portraits, and vice versa. Review their event photography portfolio before committing.
Turnaround expectations:
Corporate event galleries typically arrive within one to two weeks of the event. Wedding galleries commonly take four to eight weeks. If you need same-day social selects, discuss this explicitly during booking and confirm it in writing.
Timing, staffing and simple budget guidance
Book early. December is the busiest month for event photographers and photobooth suppliers, and availability narrows quickly from October onward.
Planning timeline:
- 8–12 weeks out: book your photographer or photobooth supplier and confirm the venue's power and space requirements.
- 4–6 weeks out: finalise props, order printed backdrops or templates, and send outfit guidance to guests.
- 2–3 weeks out: share the one-page brief with your photographer and confirm the run-sheet.
- 1 week out: test all DIY equipment, charge batteries, and confirm QR code upload links are working.
- Day of: set up stations 60–90 minutes before guests arrive and do a test shot at each station.
Staffing recommendations:
- Photo booth attendant: one person per enclosed booth to manage the queue and assist guests.
- Upload checker: one person monitoring the shared gallery to flag any inappropriate uploads before they appear on the live slideshow.
- MC or DJ: the most underrated role. An MC who announces photo moments keeps traffic flowing and prevents the end-of-night rush.
Risk notes:
- Queue management: if one station becomes a bottleneck, open a second upload point or redirect guests with a simple sign.
- Power and venue access: confirm the number of power outlets available and bring extension leads and a power board.
- Privacy and consent: display a brief notice at each photo station advising guests that images may be shared on social media or internal comms. For corporate events, a simple opt-out sticker (a coloured dot guests can wear) is a practical solution.
Pro Tip: Provide your photographer with a run-sheet listing speaker times, award presentations, and any planned surprises. A photographer who knows what is coming can position themselves without interrupting the event flow.
What really makes a Christmas party gallery useful
Most organisers focus on the fun of the night and forget that the photos need to work the morning after. The difference between a gallery that gets used and one that sits in a shared drive forever comes down to one thing: whether the images were captured with a purpose in mind.
A roaming photographer who knows your brand, your key people, and your intended channels will deliver wide scene-setters, candid reactions, and branded detail shots that your marketing team can actually use. A photographer hired purely on price, without a brief, tends to produce technically adequate images that serve no specific purpose. The brief in the section above exists precisely to close that gap.
One practical tip from experience: protect ten minutes mid-evening for group shots. Not at the end of the night when guests are tired and some have left, but around the 90-minute mark when energy is high and everyone is still present. That window produces the best group photos of the night, consistently.
Professional Christmas party photography from Life in Style Photography
Planning a Christmas party and want the photos to actually reflect the effort you put in? Life in Style Photography covers Auckland events with a warm, editorial approach that captures both the atmosphere of the room and the people who made the night.

The service includes candid event coverage, group portraits, and same-day social selects for clients who need images ready before the night is over. Every gallery is delivered in both high-resolution and web-optimised formats, ready for social media, internal comms, or your website. You can see the style and range of work in the event photography portfolio before making any decisions. To discuss your event and check availability, get in touch directly through the website.
Sources
- Holiday party photo scavenger hunt prompts — GatherShot
- Corporate event photography checklist — Zillwood
Recommended
- Auckland Event Photographer Portfolio - Auckland Portrait, Branding & Wedding Photographer | Life in Style Photography
- Auckland Engagement photography - Auckland Portrait, Branding & Wedding Photographer | Life in Style Photography
- Event photography Services - Auckland Portrait, Branding & Wedding Photographer | Life in Style Photography
- Fitness Photographer - Auckland Portrait, Branding & Wedding Photographer | Life in Style Photography